



Icarex – and beyond?
Over the last few months, several Icarex cameras have ended up on my workbench. Some were gifts, others came as extras when buying something else – but they all had one thing in common: they were more or less defective.
A few recurring problems appeared, which are probably typical for these cameras:
- On all examples, the light meter could be brought back to life relatively easily – but it was always badly misadjusted. The measured values were at least 2–3 stops off. All light meters showed significantly too much light.
- All Icarex cameras showed serious shutter problems: the shutter sometimes remained open, ran too slowly, or the synchronization of the shutter curtains was completely out of adjustment.
- Almost all examples had problems with the escapement controlling the long exposure times. This can result in the 1/30 second exposure running like half a second, or the shutter simply remaining open during long exposures.
Despite these issues, the Icarex is not a bad camera. The construction is solid and the workmanship is good.
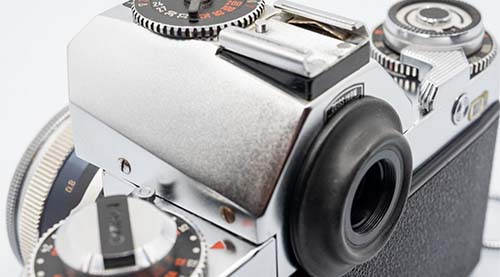
Some details are actually very well designed. For example, I like the interchangeable focusing screens of the Icarex 35: they are housed in a cleanly sealed module, making them easy to clean and reducing the risk of scratches.
The Icarex lenses are not particularly fast, but their optical quality is quite good.
Unfortunately, there is very little technical information or repair documentation about the Icarex models available online. Therefore, I decided to share my own repair experiences with these "Zeiss-Ikon bricks" here.
This is not an official service manual. These notes are based on my own repair experience with several Icarex 35 cameras. Always work carefully and at your own risk.
For instructions on removing the top cover on an Icarex 35 S, there’s a separate guide here.
Removing the top cover of an Icarex 35
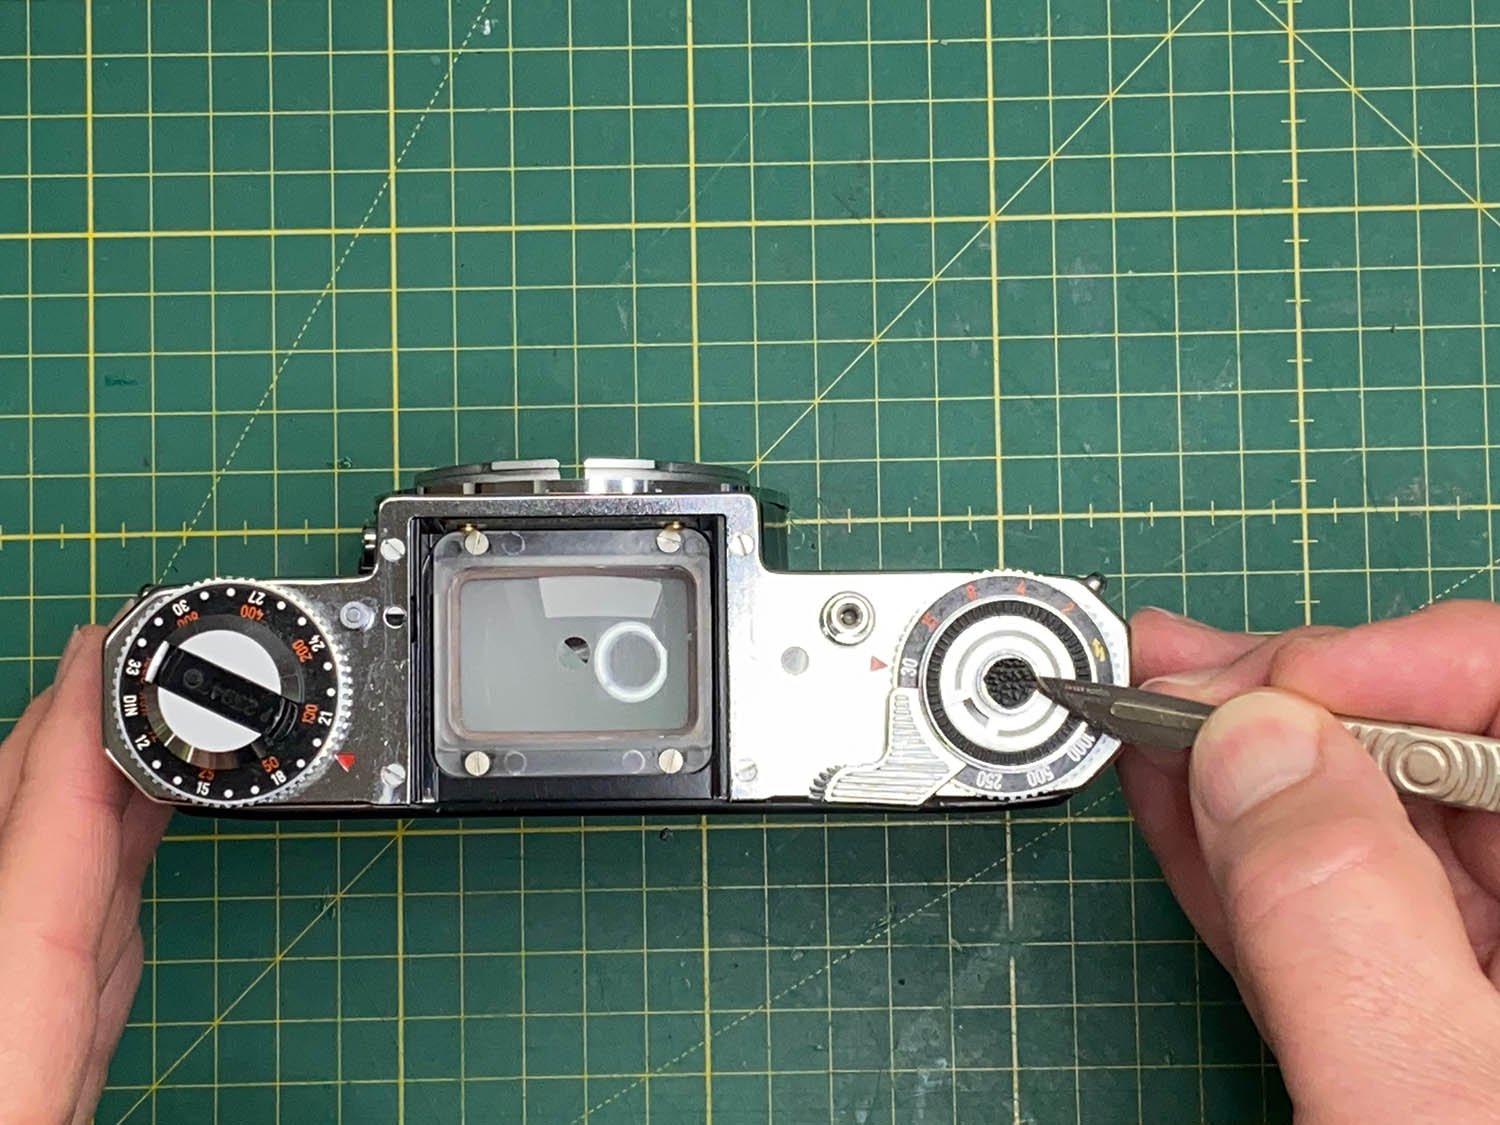
Carefully remove the decorative leather cover using a scalpel blade or a similar tool. Then remove the remaining adhesive residue from the screw and the backside of the leather using acetone. Allow the acetone some time to work.
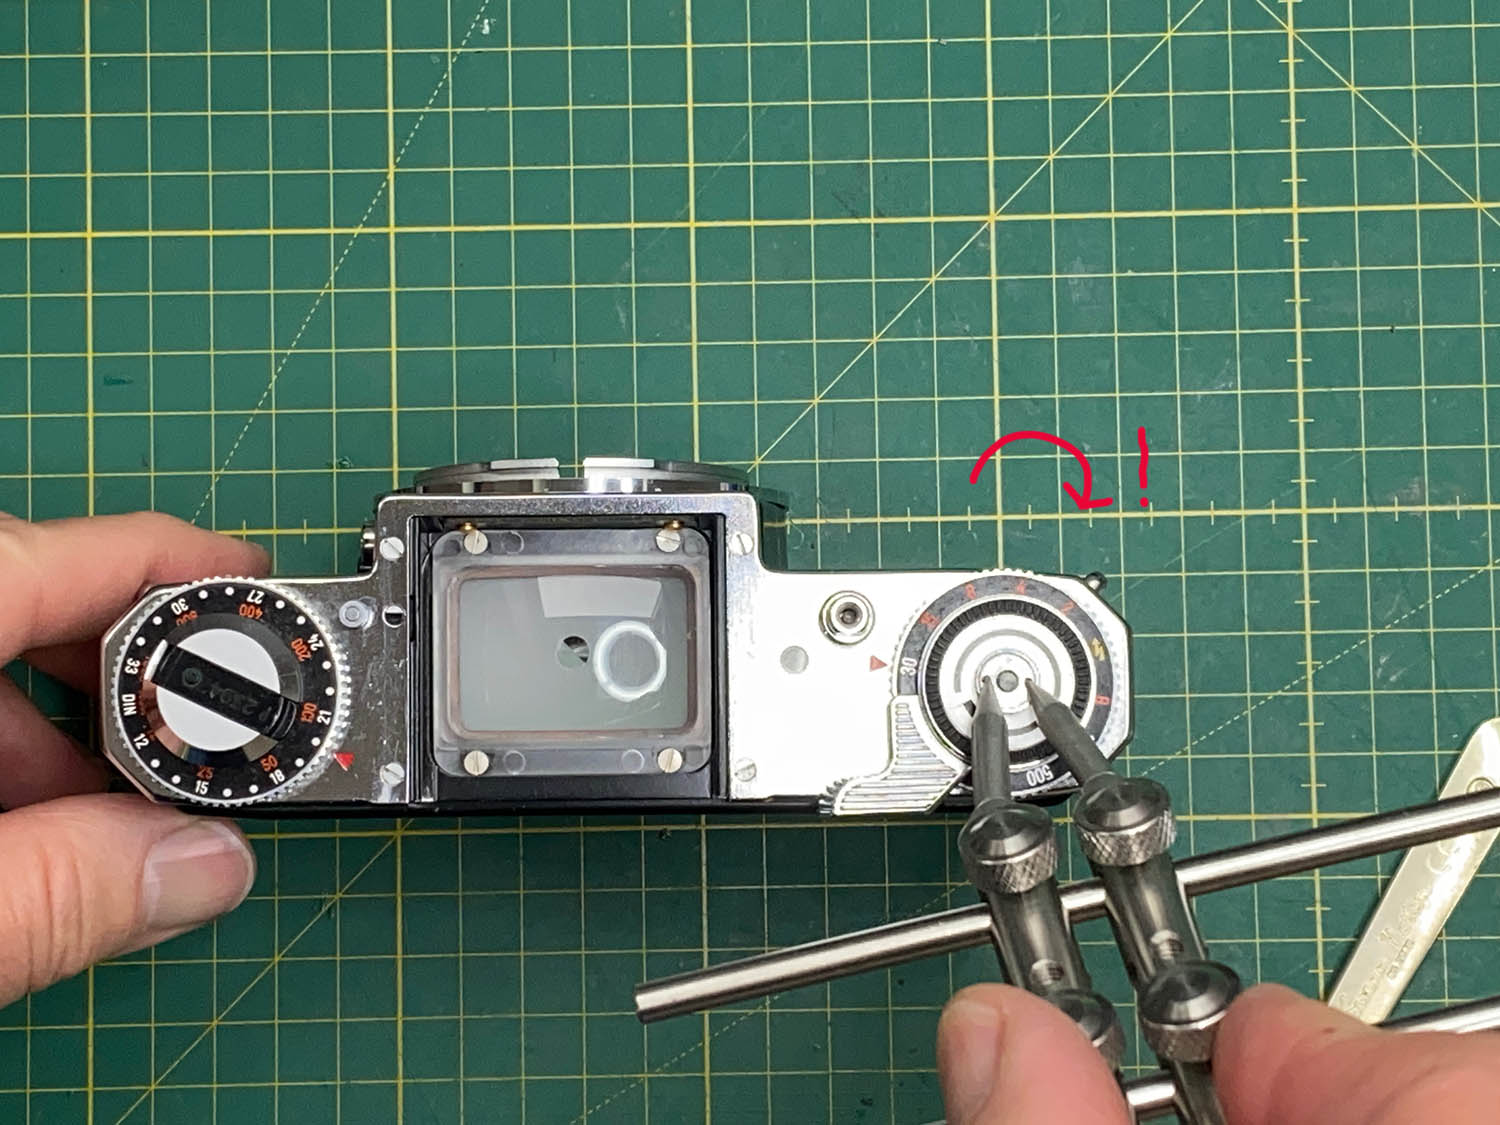
Now loosen the upper nut on the film advance lever using a spanner tool. IMPORTANT: This nut has a left-hand thread!
To loosen it, turn it clockwise.
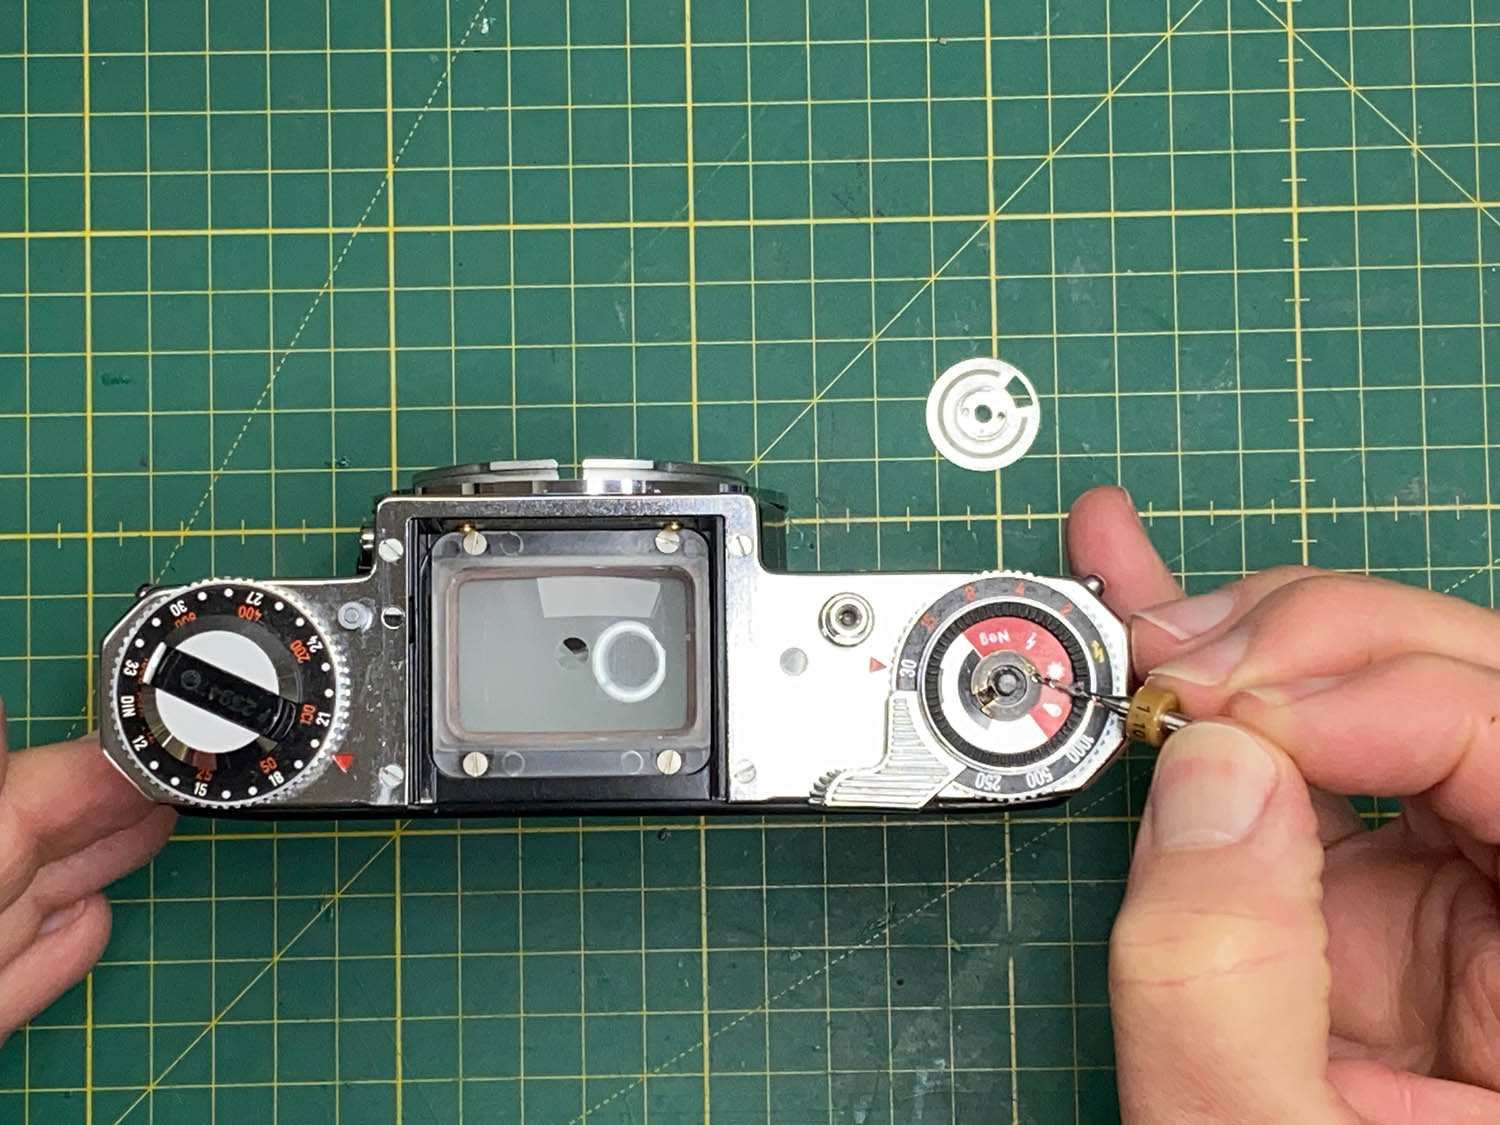
You will now reach a locking nut which is difficult to grip. I drilled a small 1.1 mm hole with a Dremel tool exactly opposite the existing cut-out.
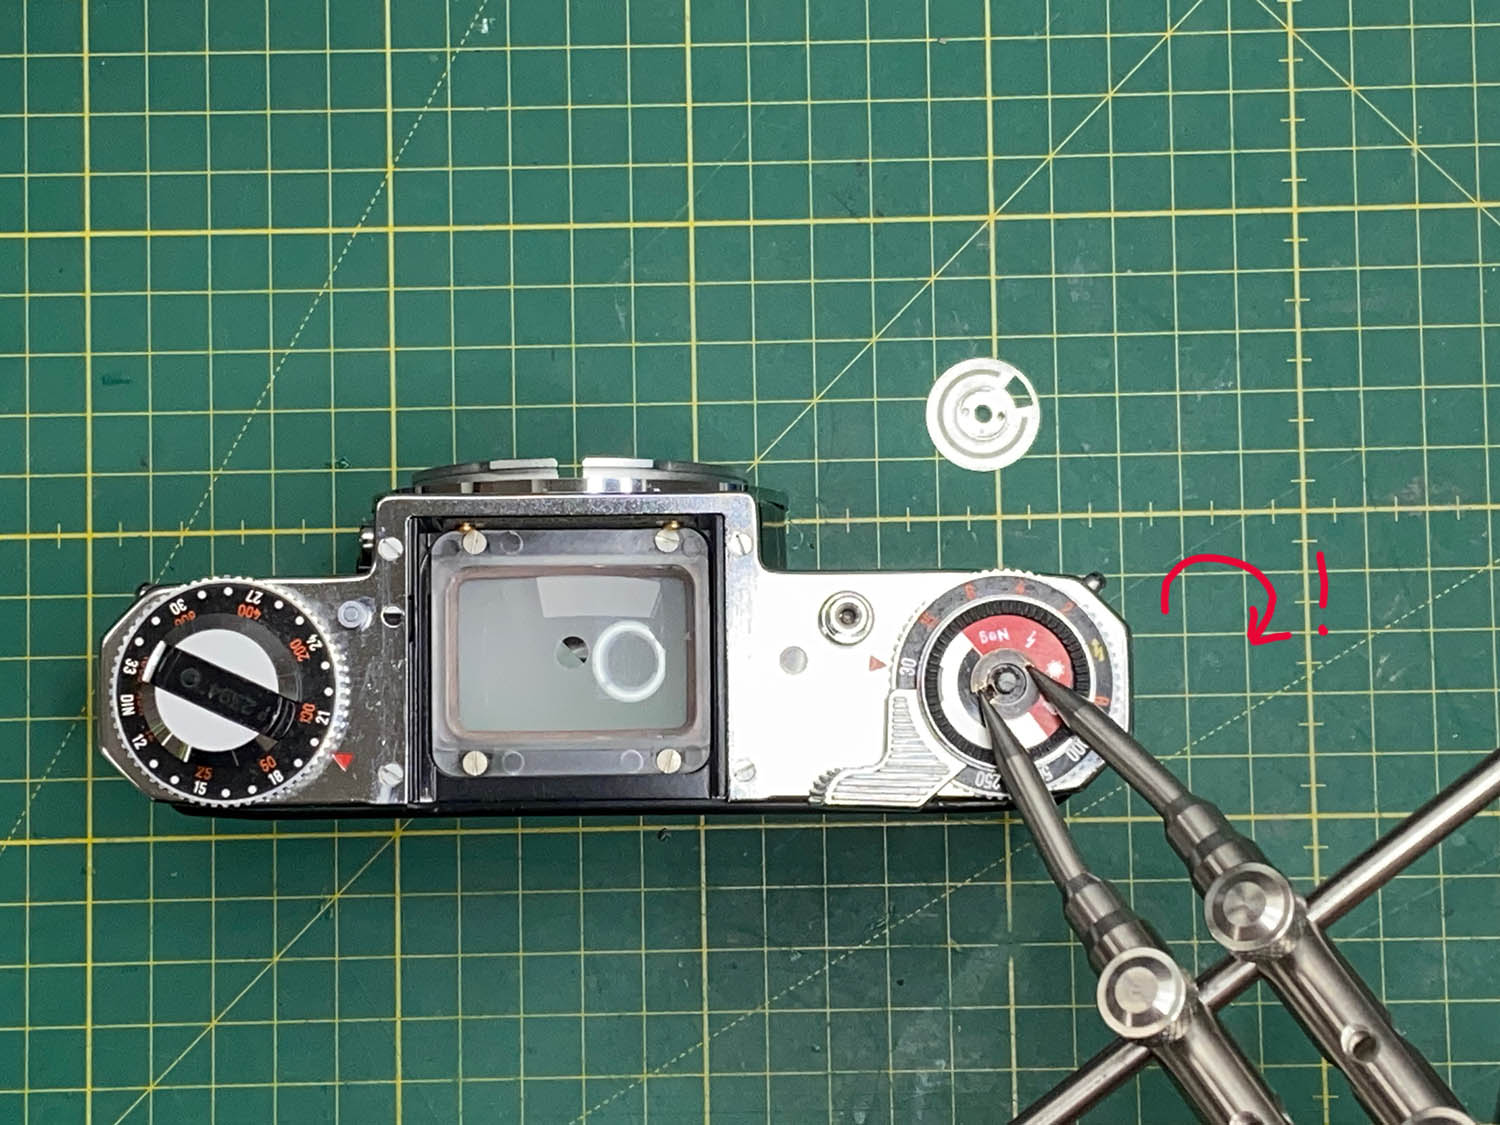
Be extremely careful when drilling: do not drill through the part and damage the components underneath. Now the nut can be gripped with the spanner tool and removed. Again: left-hand thread – loosen clockwise!
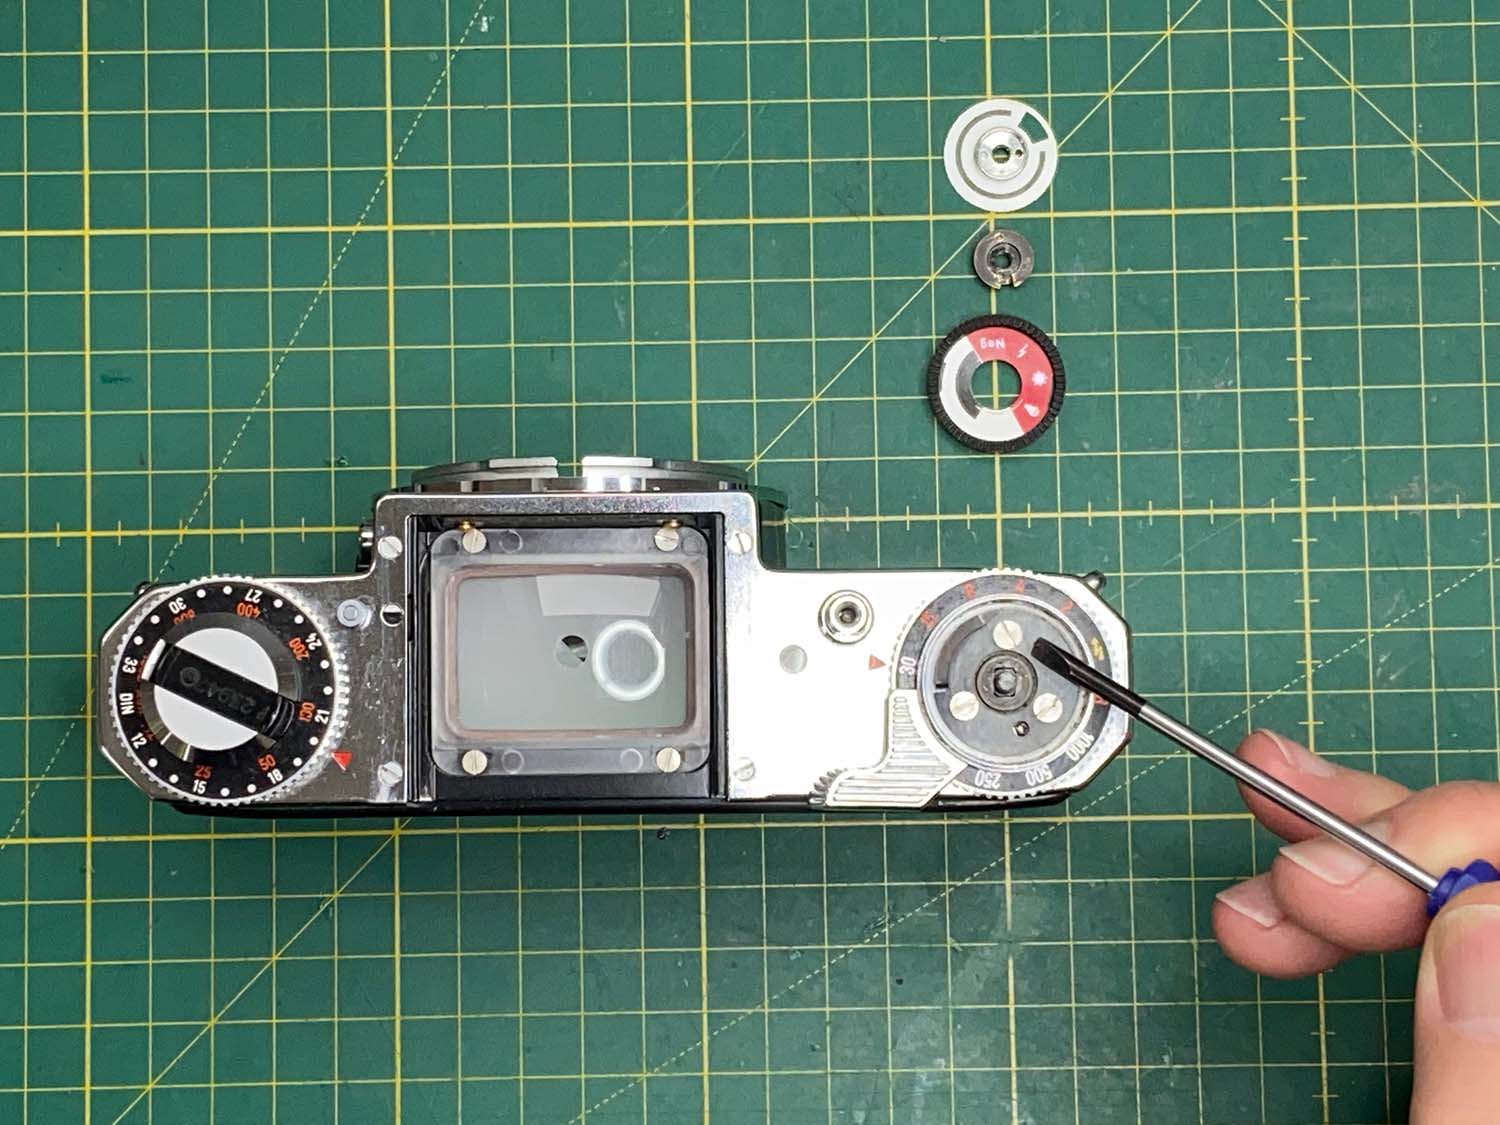
The rings of the film reminder dial can now be removed and cleaned. The three slotted screws that are now visible do not need to be removed. They can be lifted out together with the wind mechanism plate.
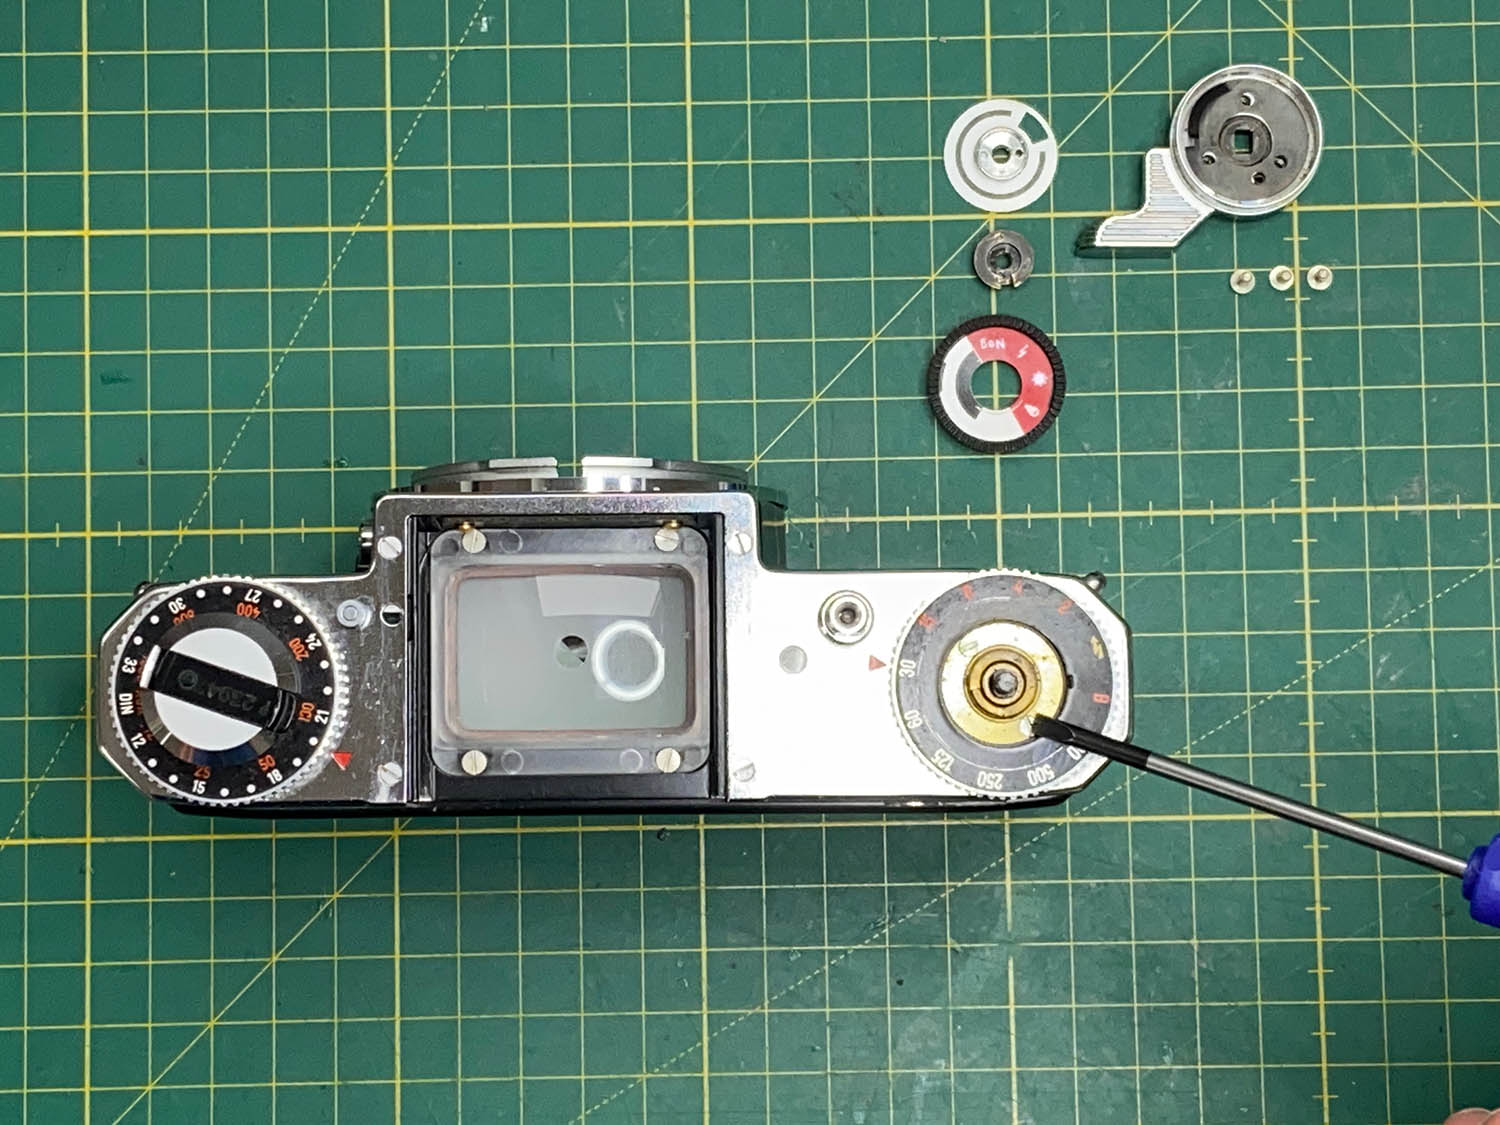
Underneath you will find a golden retaining plate held by two screws. Remove the screws and take out the retaining plate.
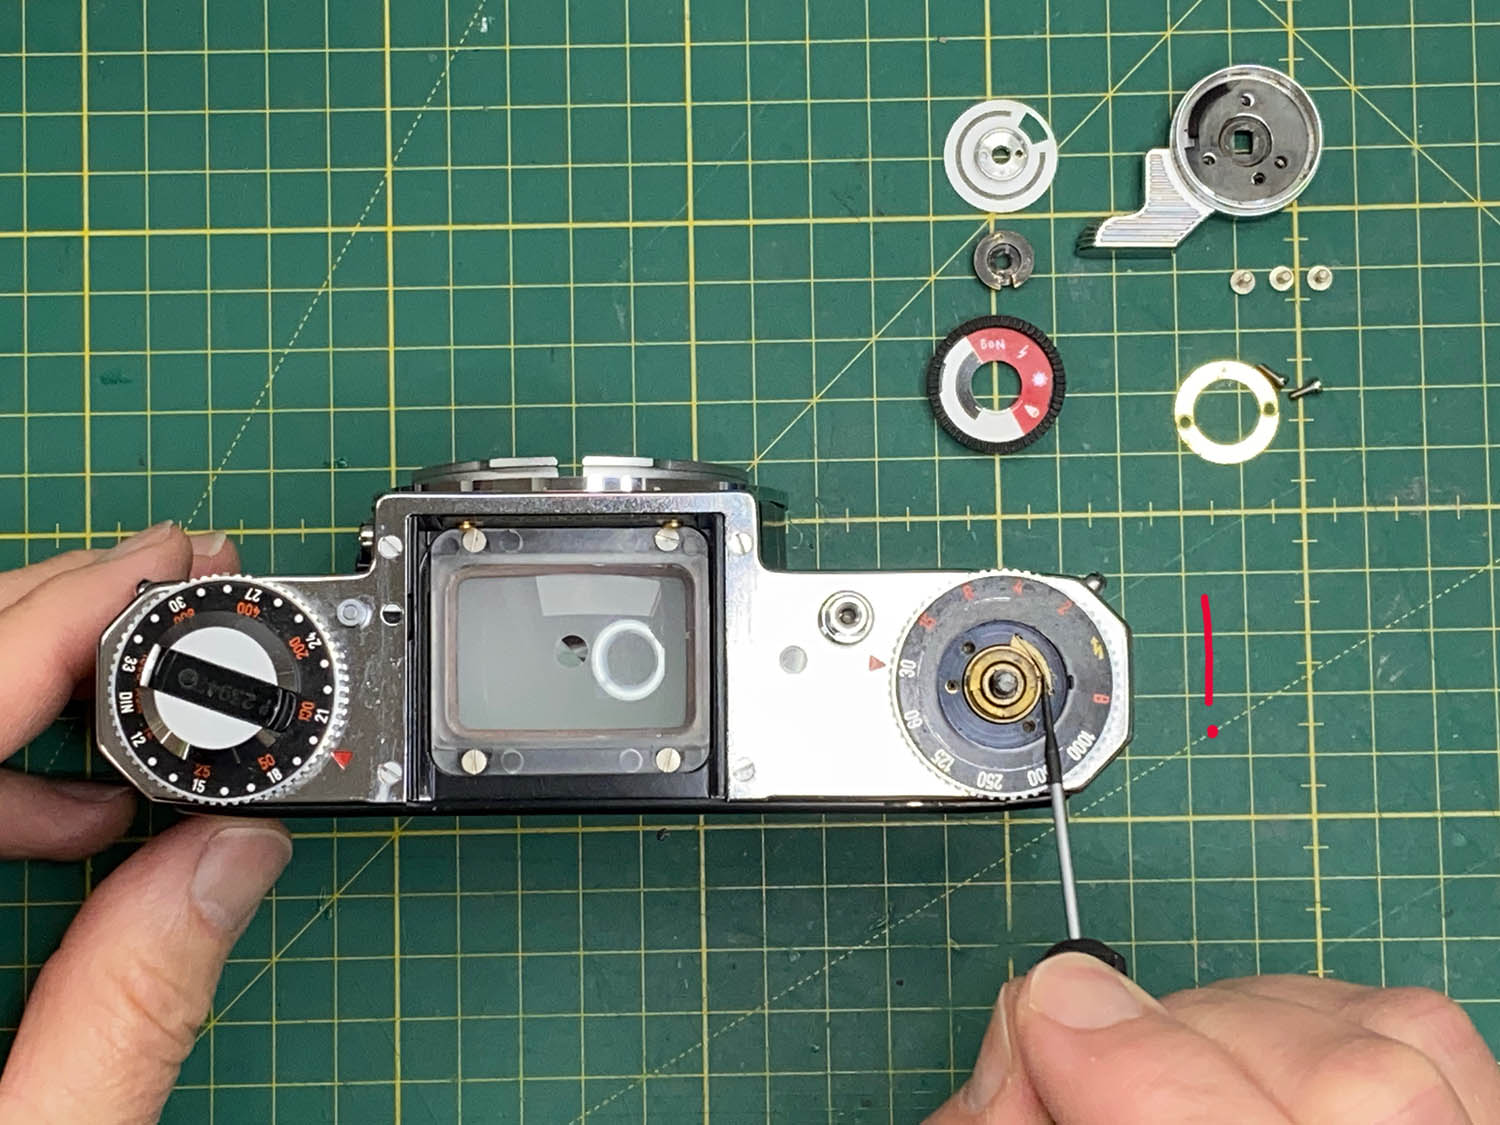
This is where things become a little fiddly: Under the retaining plate you will find a small metal spring pressing a tiny ball against the winding shaft. This ball and spring provide the click stops for the shutter speed dial.
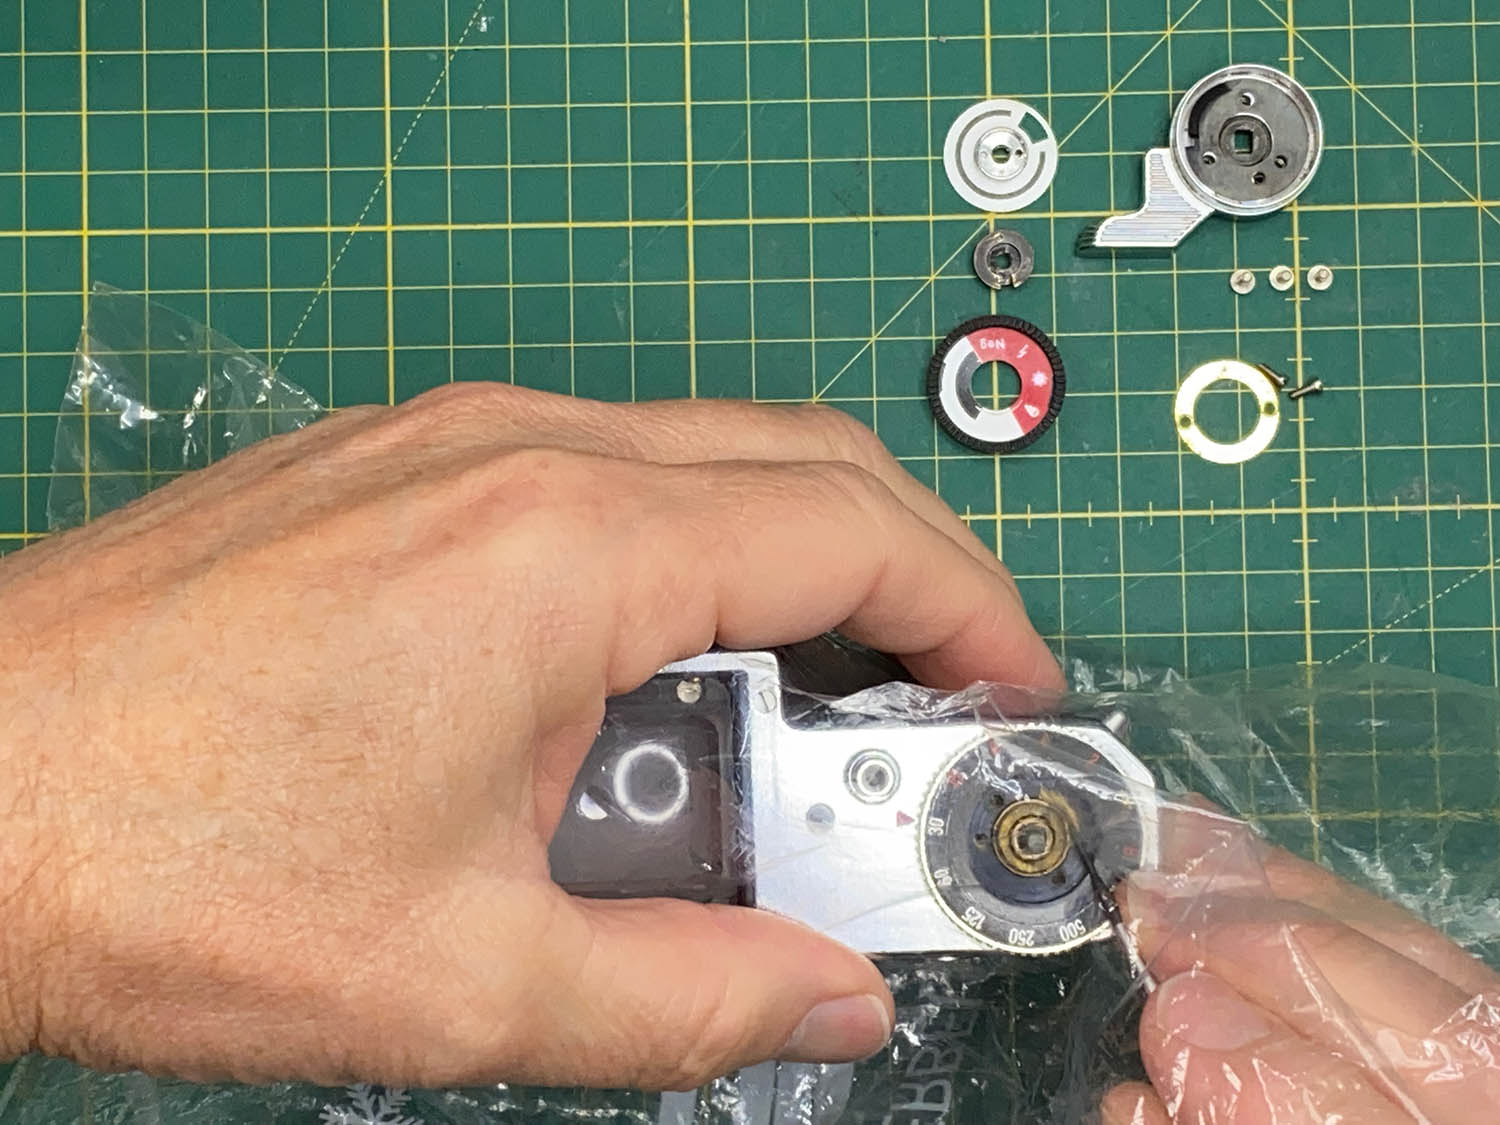
The small spring and the ball have to be removed. My advice: do this step inside a transparent freezer bag. Otherwise, the tiny spring may disappear into another dimension!
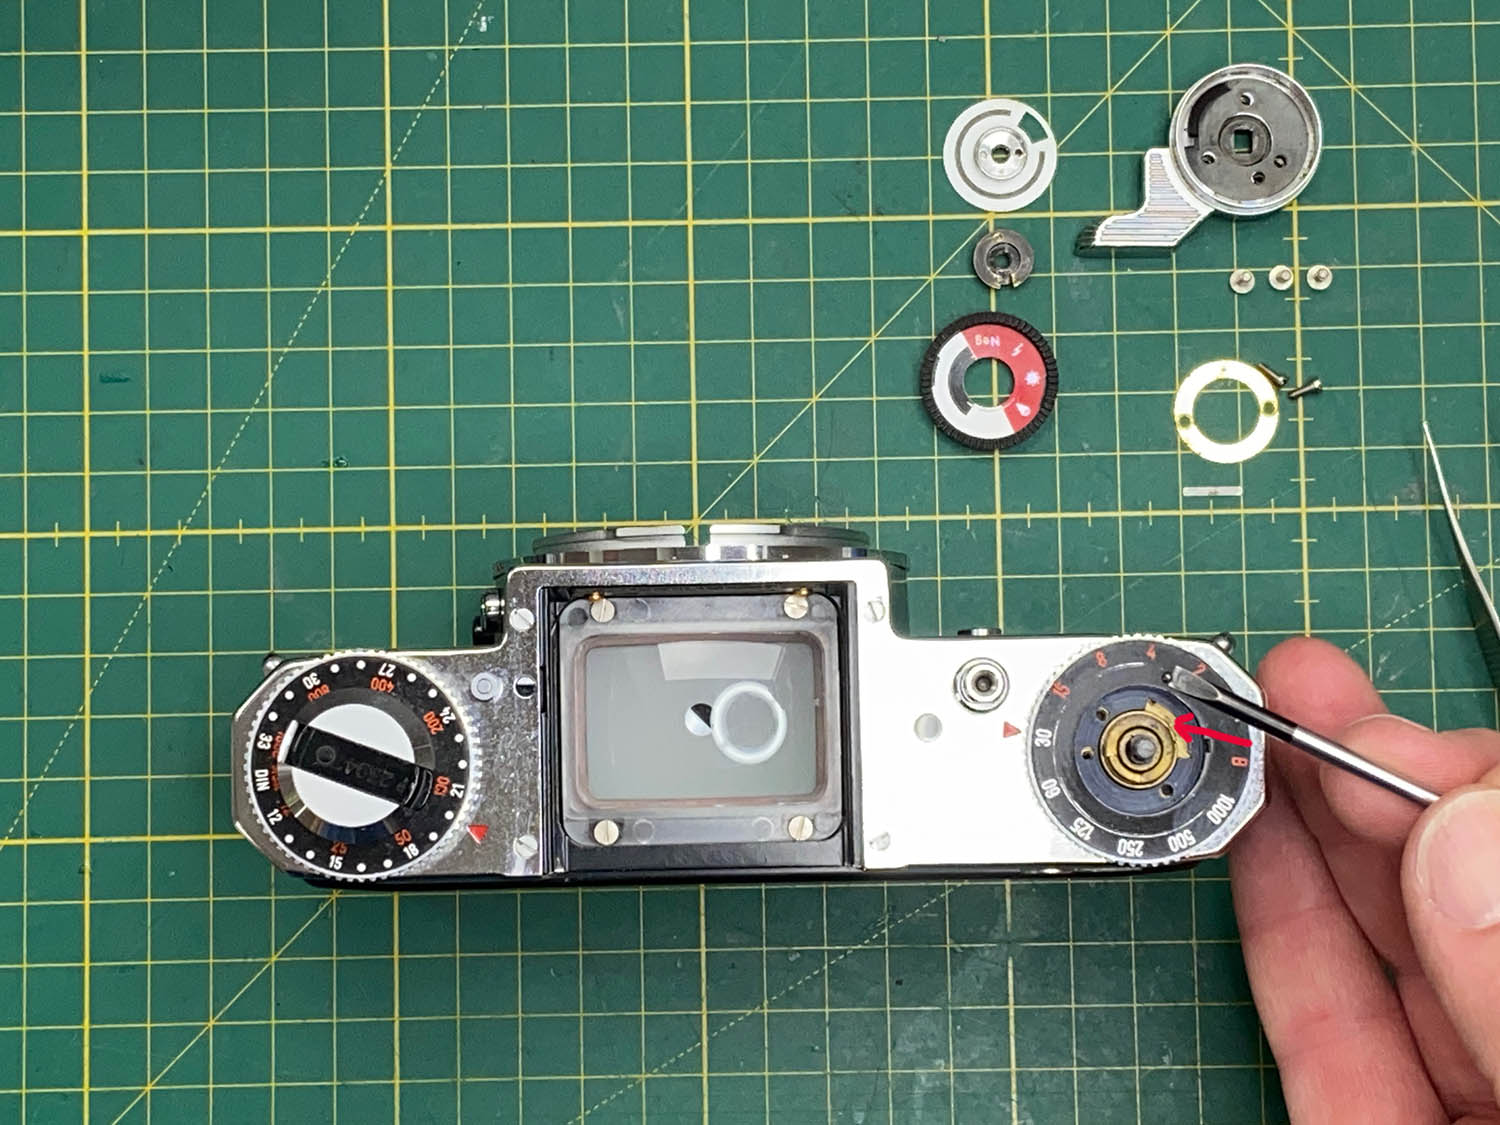
Here you can see the small bearing ball which is pressed against the shaft by the spring. Keep this ball in a safe place – it is essential!
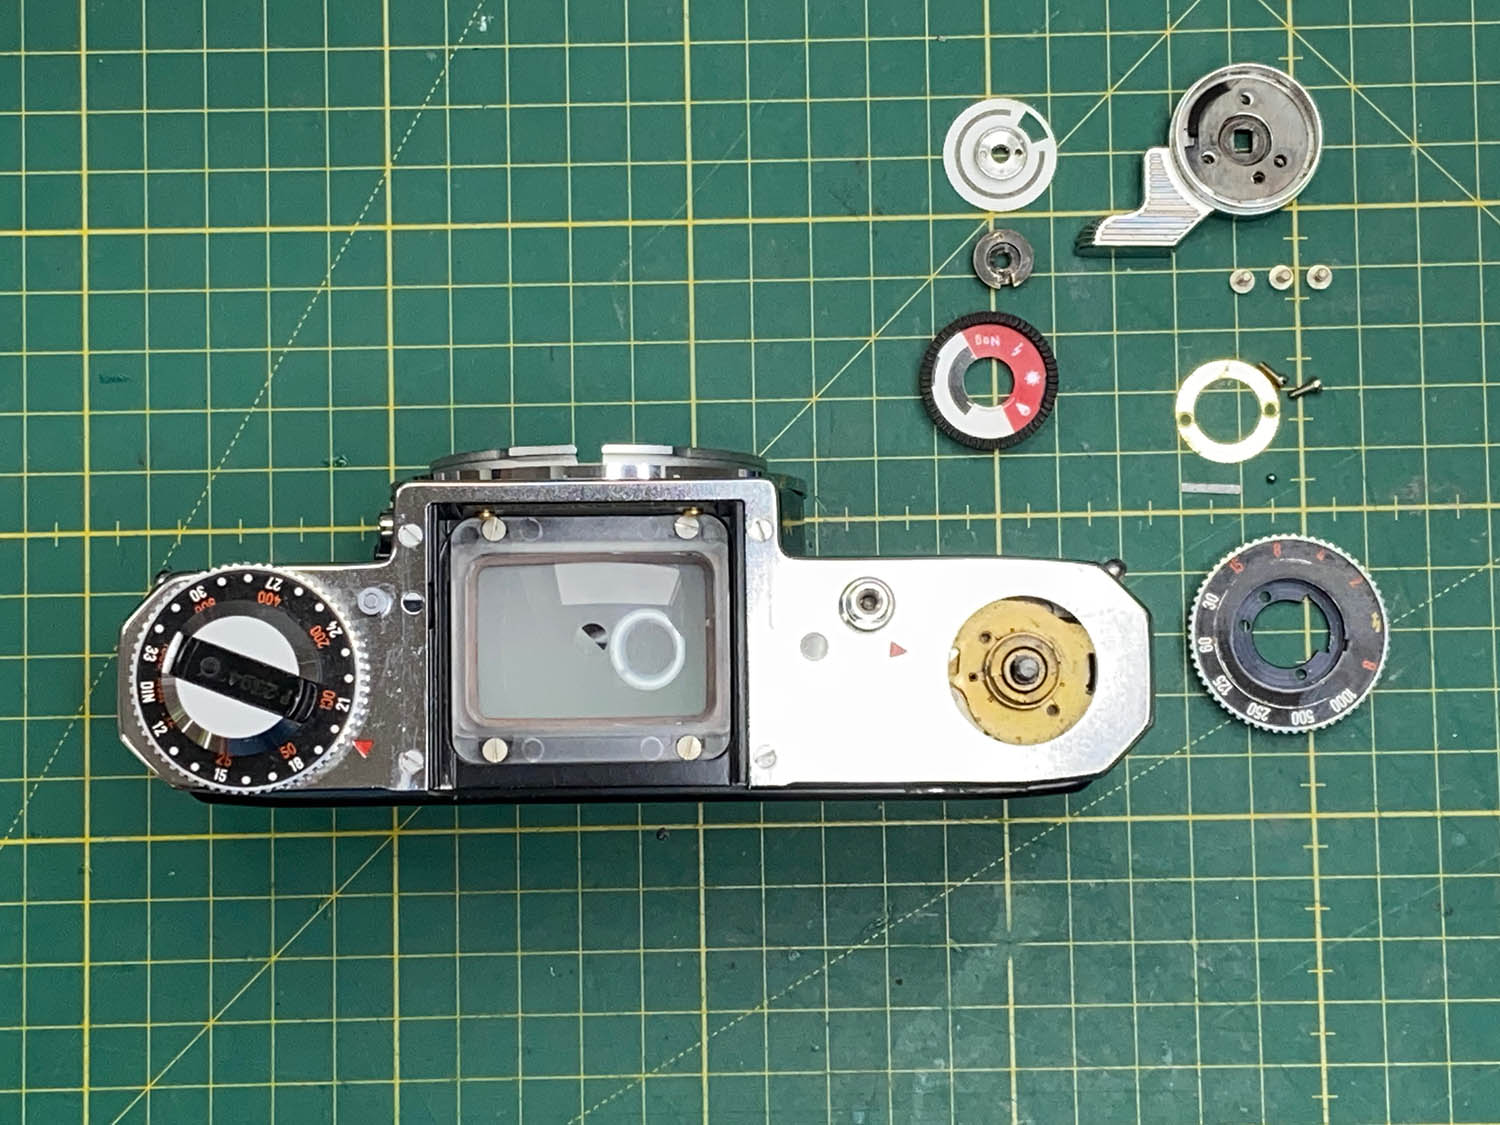
Once the spring and ball are secured, the shutter speed dial can be lifted upwards and removed.
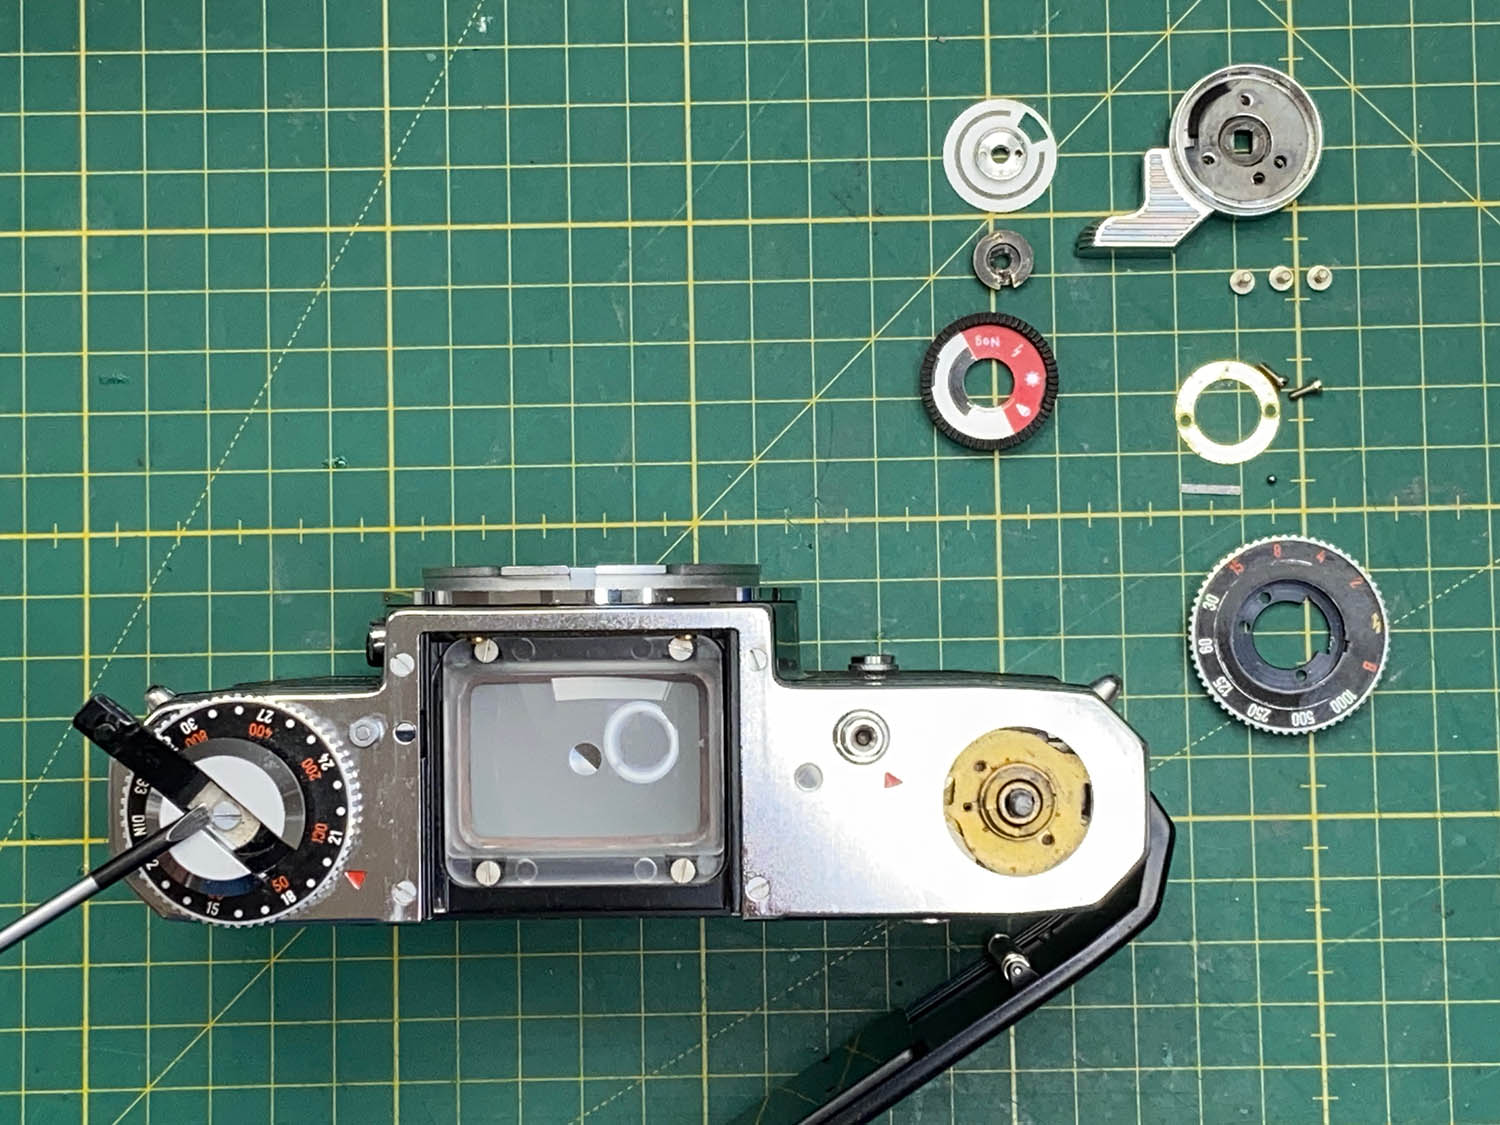
Now to the left side: The rewind crank can be easily removed by locking the film cartridge holder inside the camera.
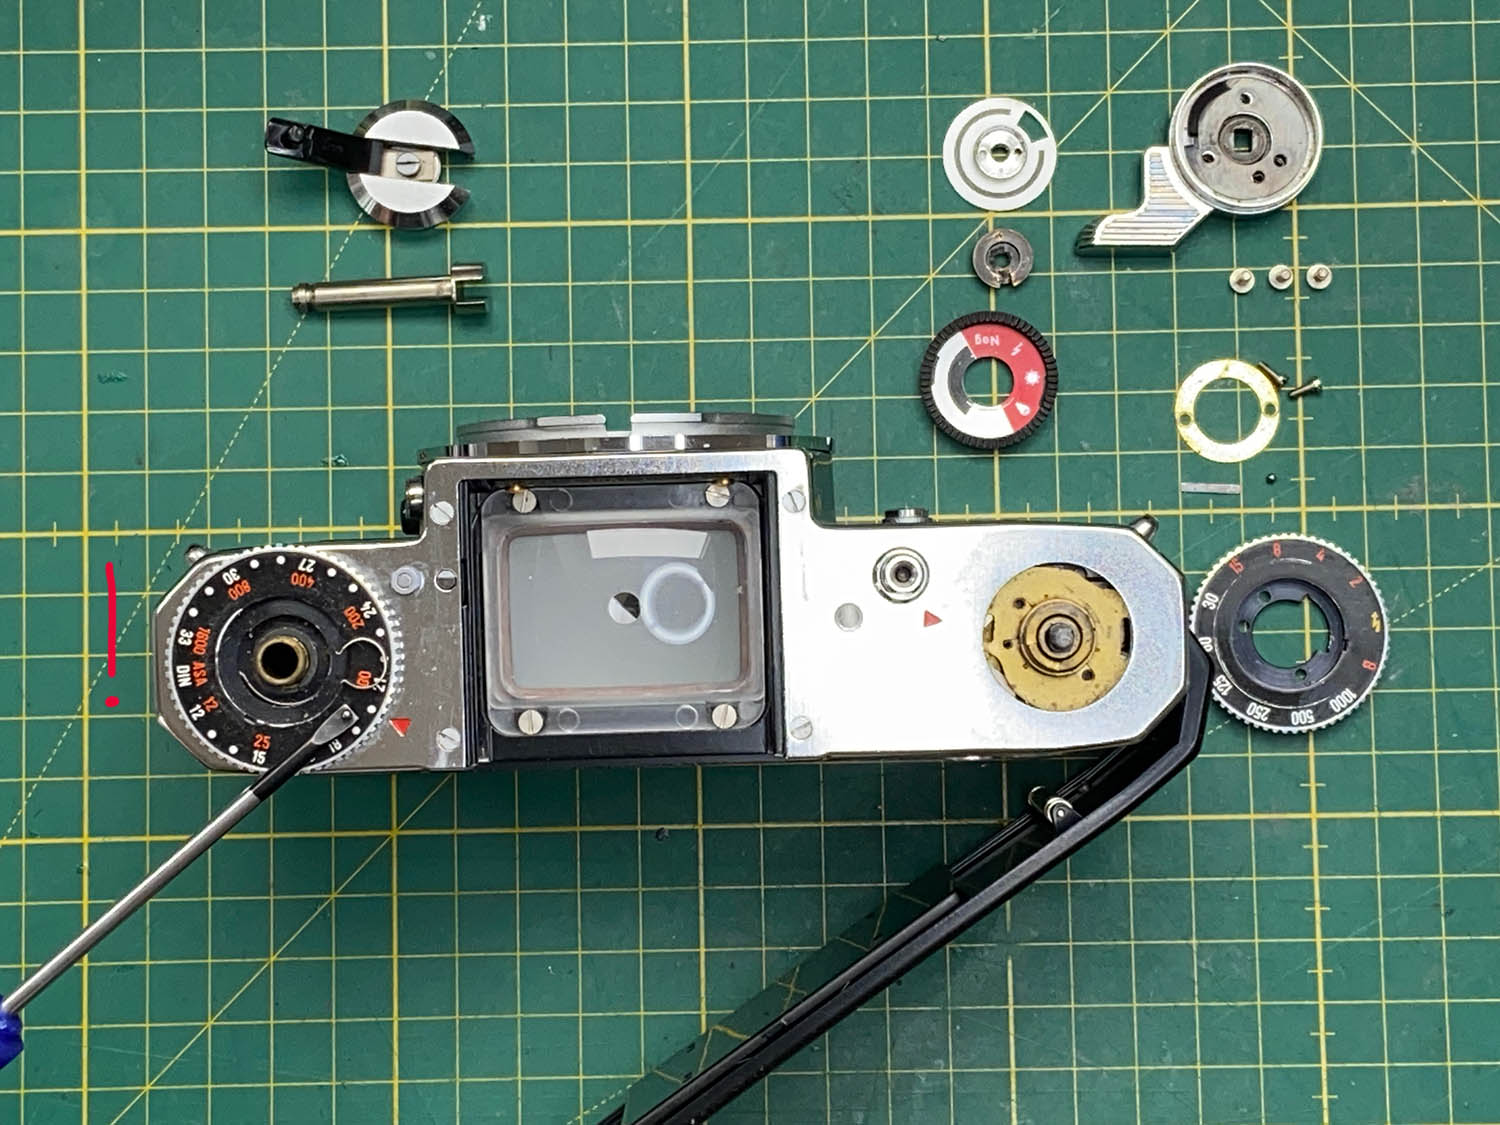
Caution: There is also a small, round metal sleeve on this side that holds a tiny ball in place. Carefully remove both parts and secure them.
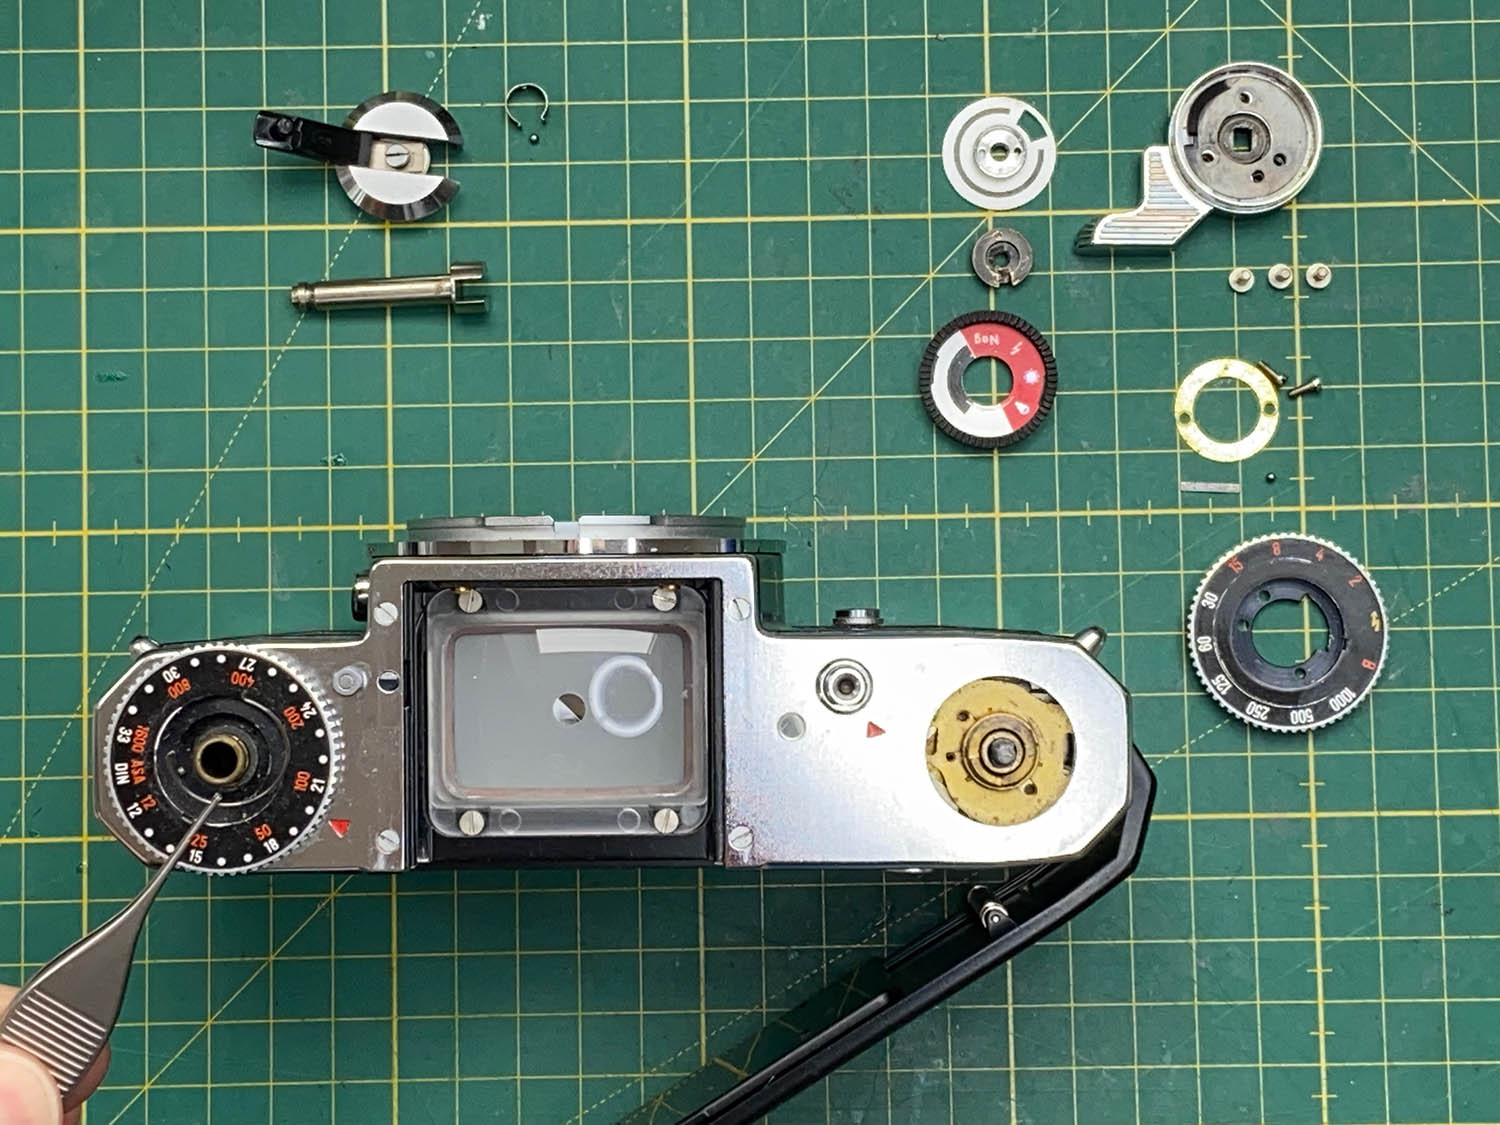
The click stops of the film speed reminder dial are created by a small spring and a pin. Carefully remove this spring. Here again, I recommend using the freezer bag trick!
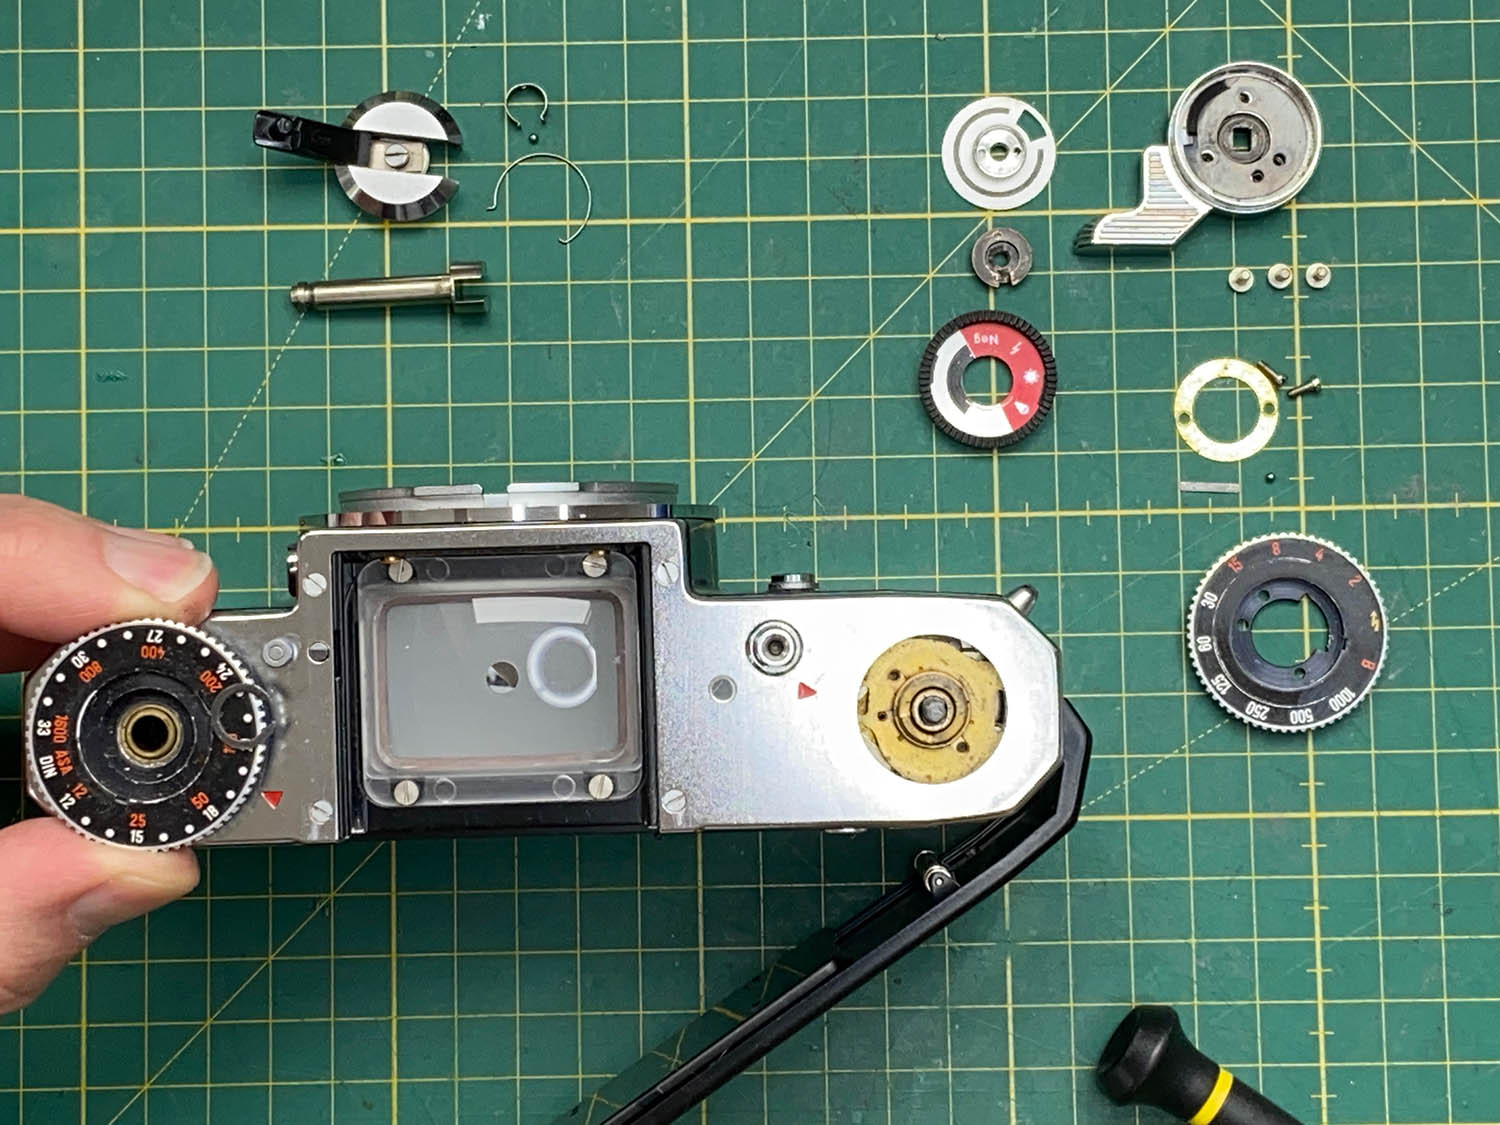
Now remove the circlip that holds the reminder dial on the shaft. The dial can then be lifted upwards and removed.
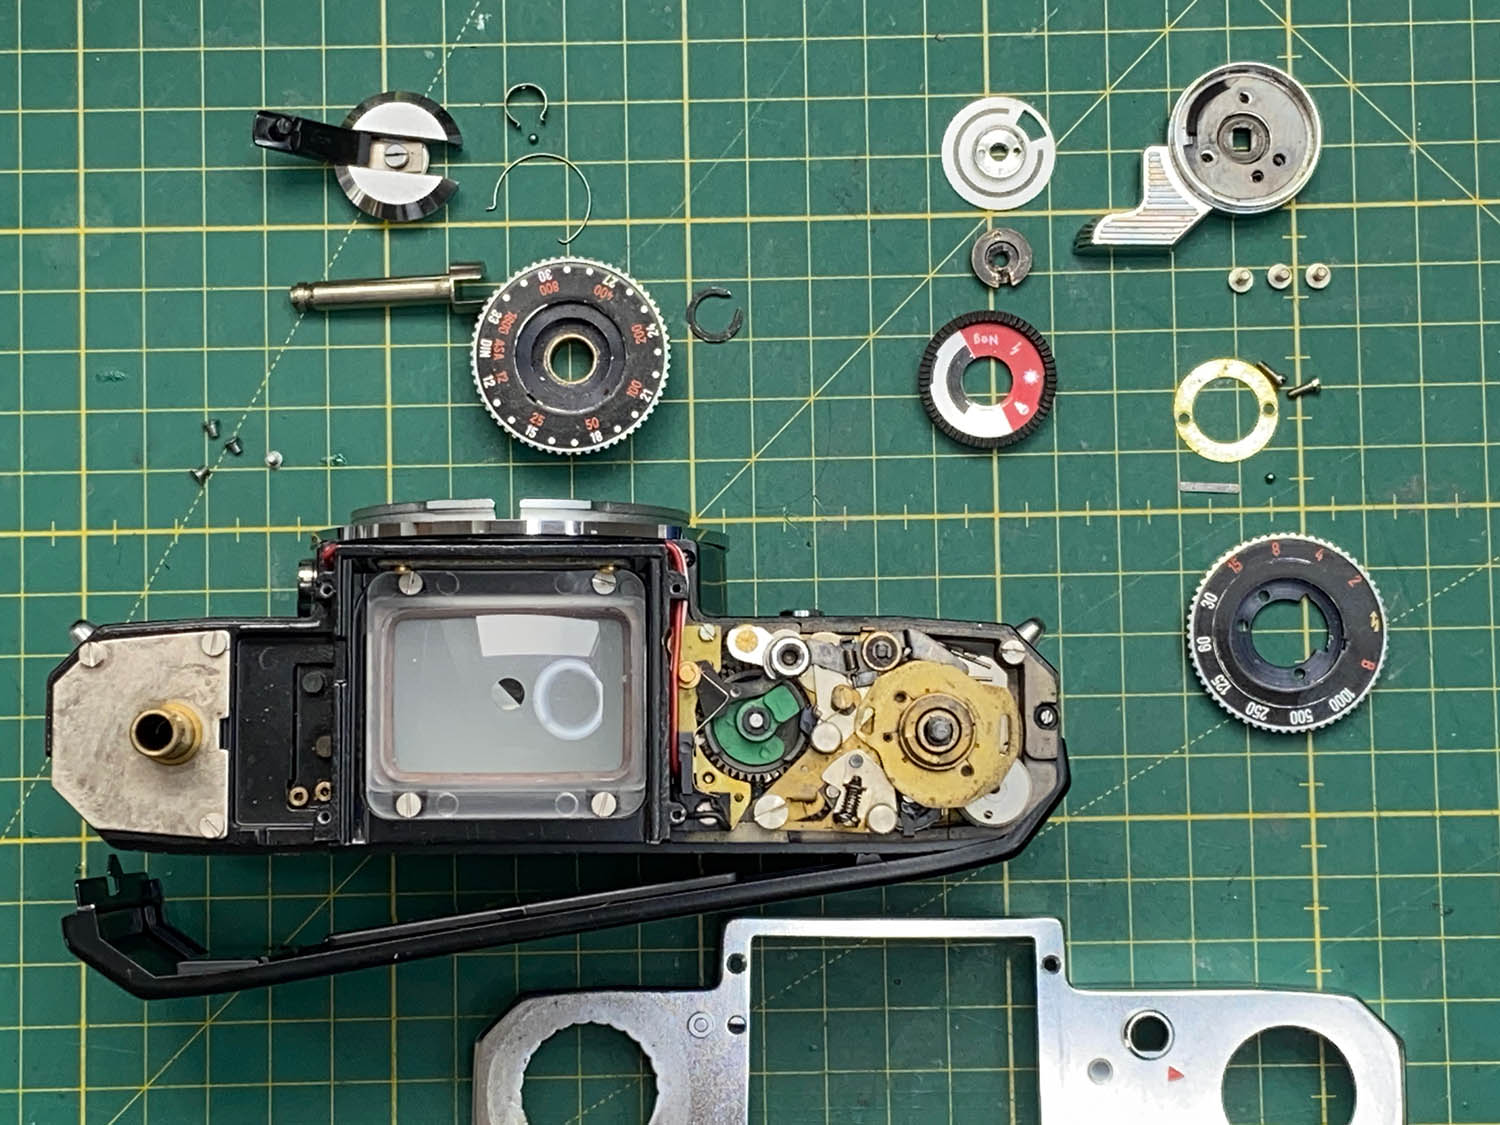
Finally, remove the four screws around the focusing screen opening. The top cover can now be lifted off.
Admittedly, there are cameras where removing the top cover is easier than on an Icarex. However, it is not as difficult as it may seem at first glance. Reinstalling the small bearing balls is easy with a small amount of bearing grease. Reinstalling the small spring underneath the film advance lever requires a little practice, but it is also manageable.
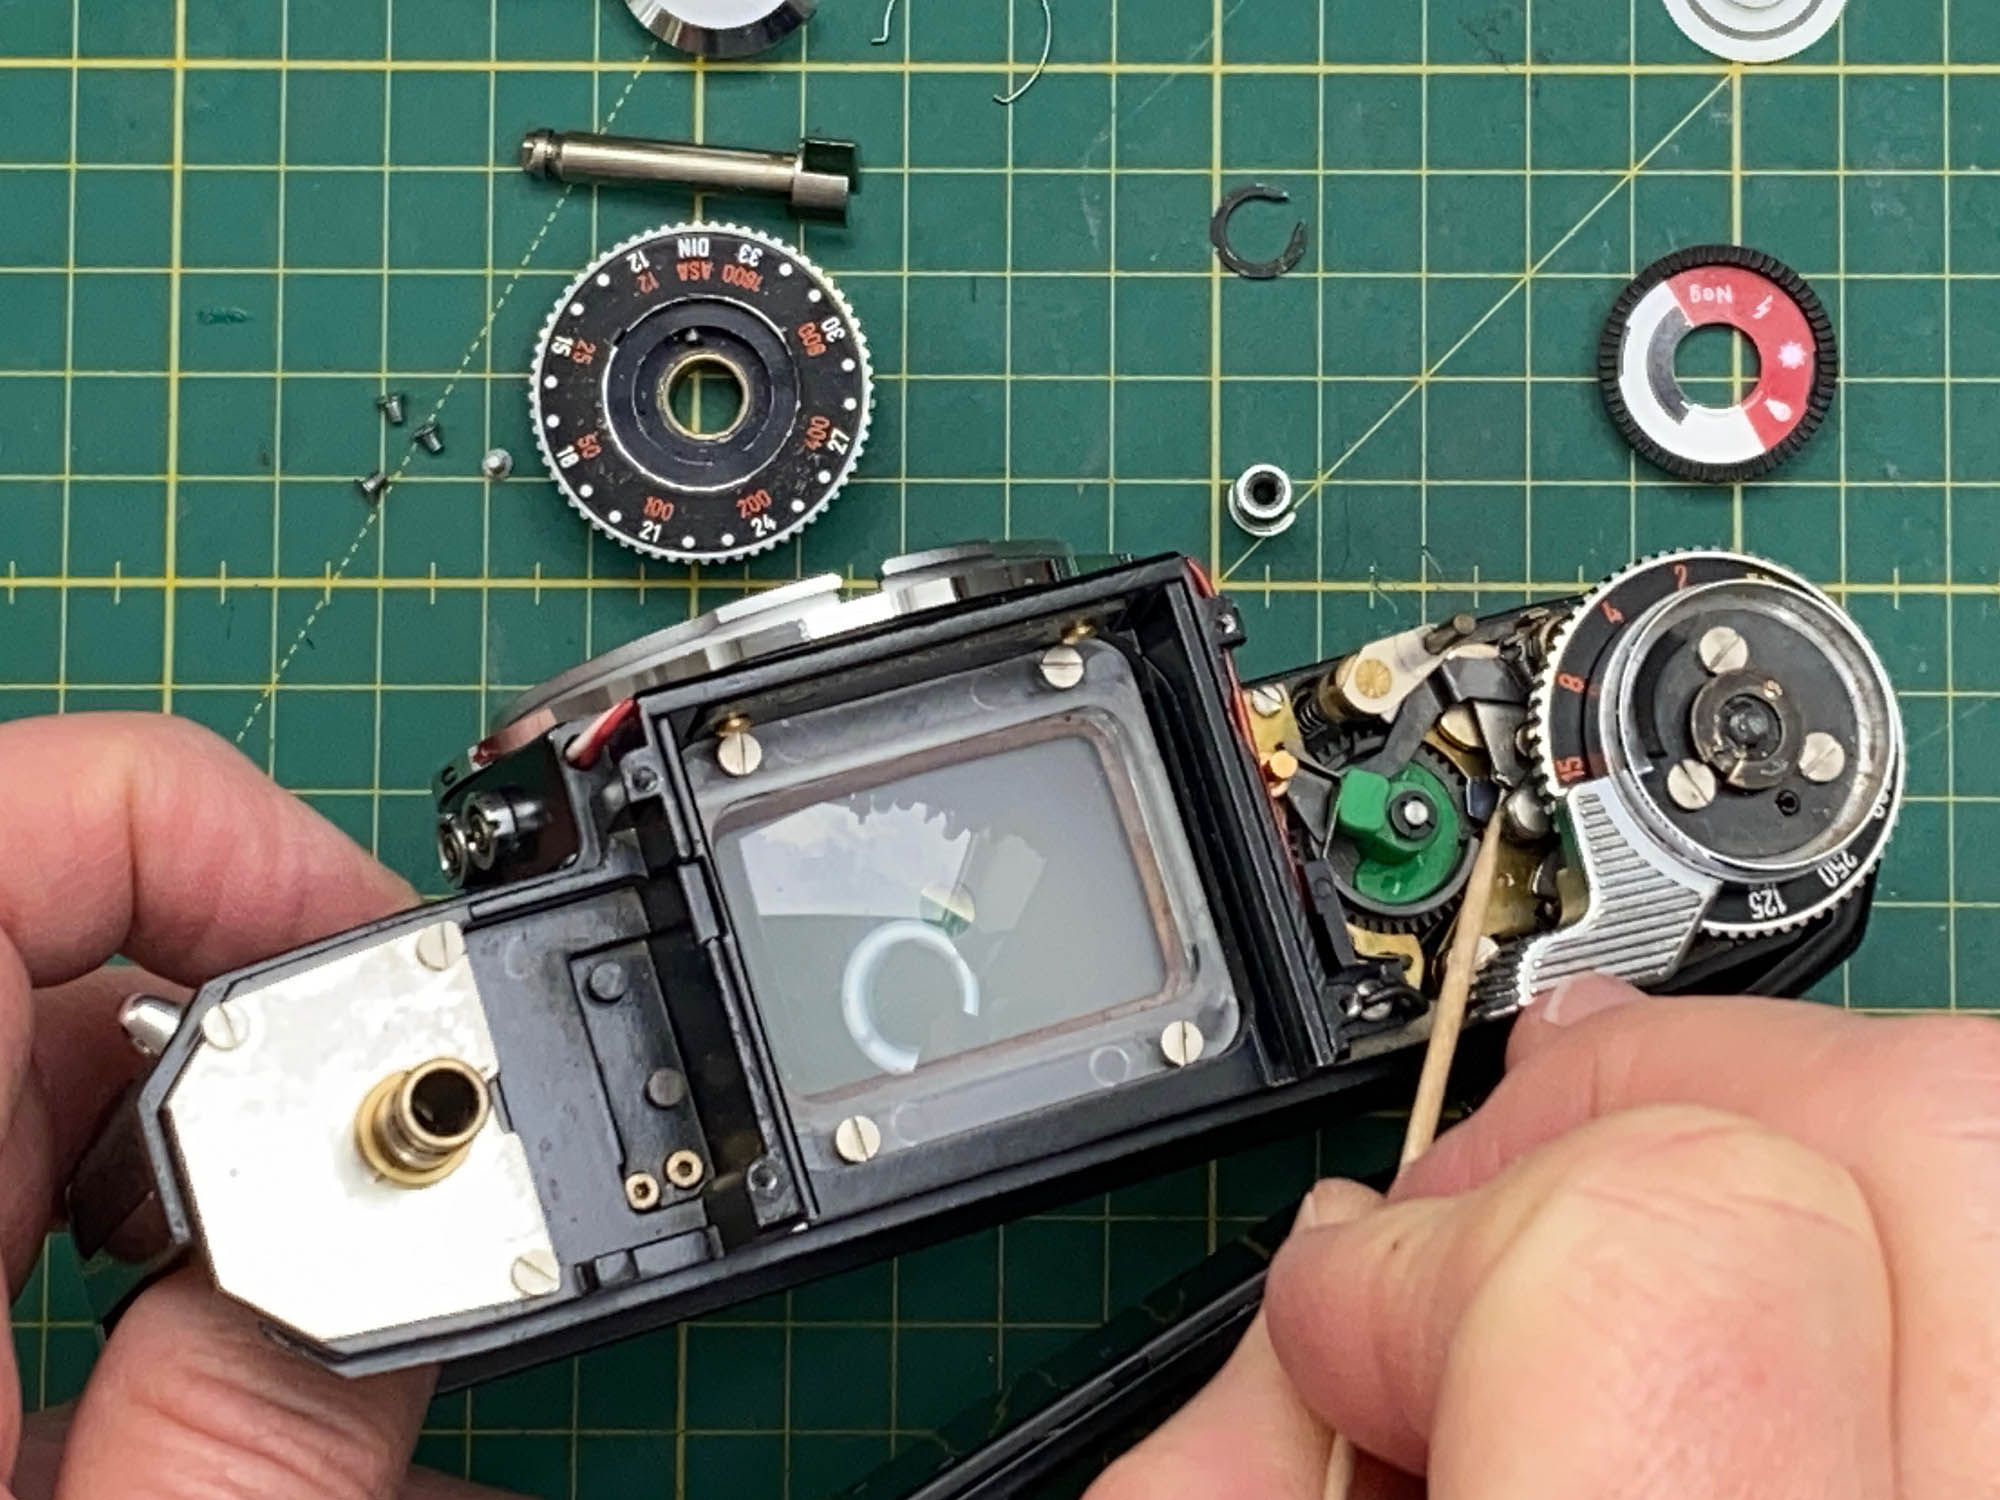
Where to find the slow-speed-escapement?
A common problem with Icarex cameras is that the slow shutter speeds run too slowly. Sometimes the shutter even sticks completely at the slow speeds and fails to close. The cause is usually hardened grease in the so-called slow-speed escapement.
In the photo, I show the exact location of this mechanism. If it is carefully cleaned with a small amount of lighter fluid and worked back and forth repeatedly, then lubricated with only microscopic amounts of oil on the tiny bearings, it will often work properly again.
The Icarex 35 and the Icarex 35S differ slightly in the details of this mechanism, but the basic design is the same.
Contact problems?
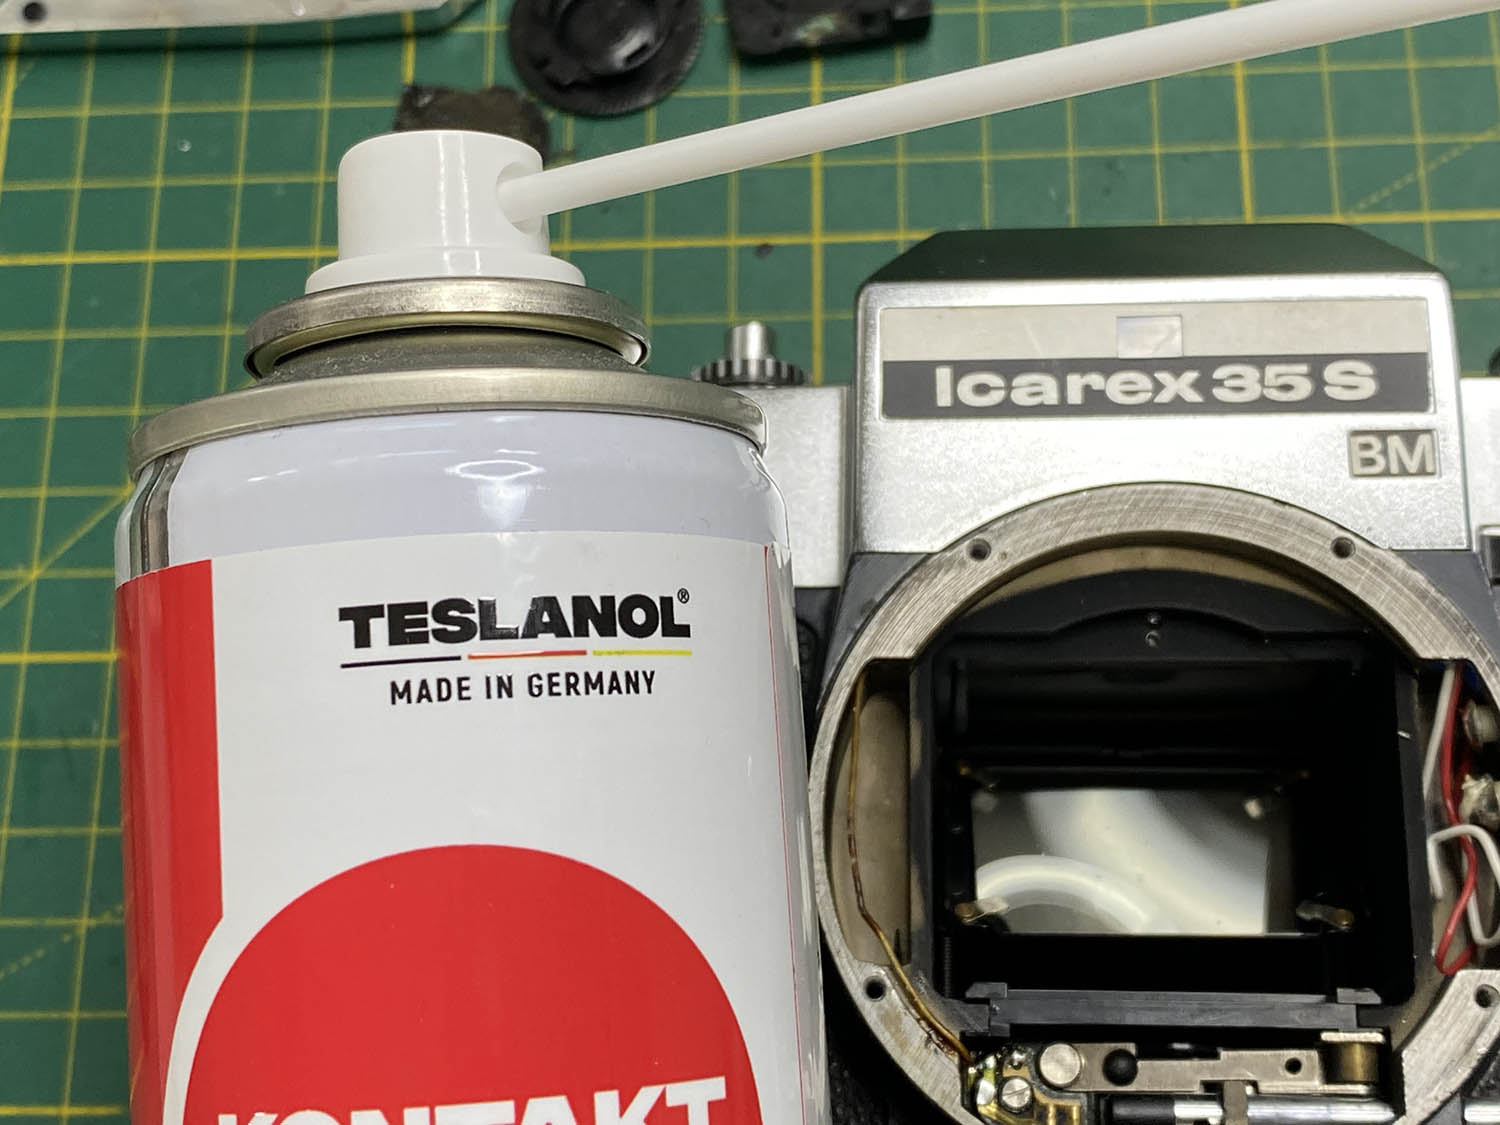
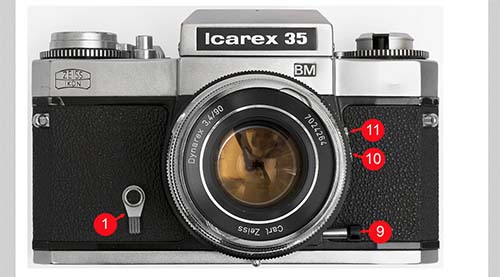
The light meter switch located at the depth-of-field preview lever should always be serviced on an Icarex. Dirt and/or corrosion frequently cause poor electrical contact at this point. The individual steps are shown in the pictures. I use Teslanol Contact Cleaner to clean the contacts. Apply it with a cotton swab (Q-tip) and protect the camera body with masking tape.
Never spray the contact cleaner directly into the camera!
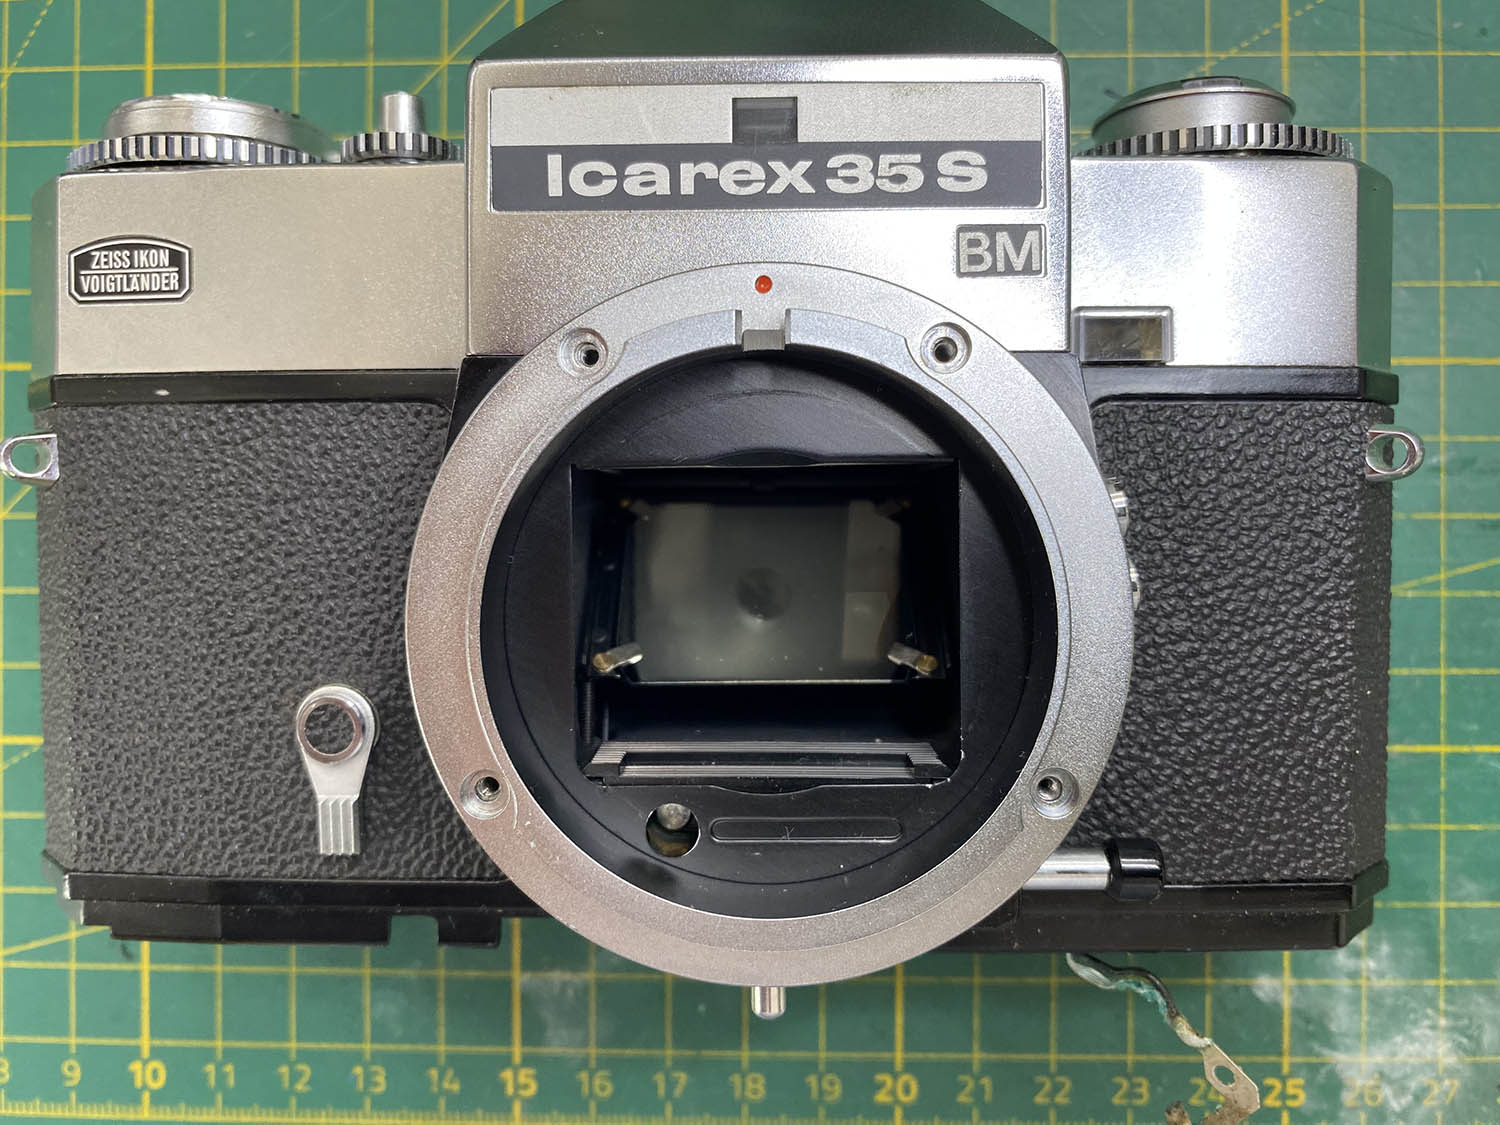
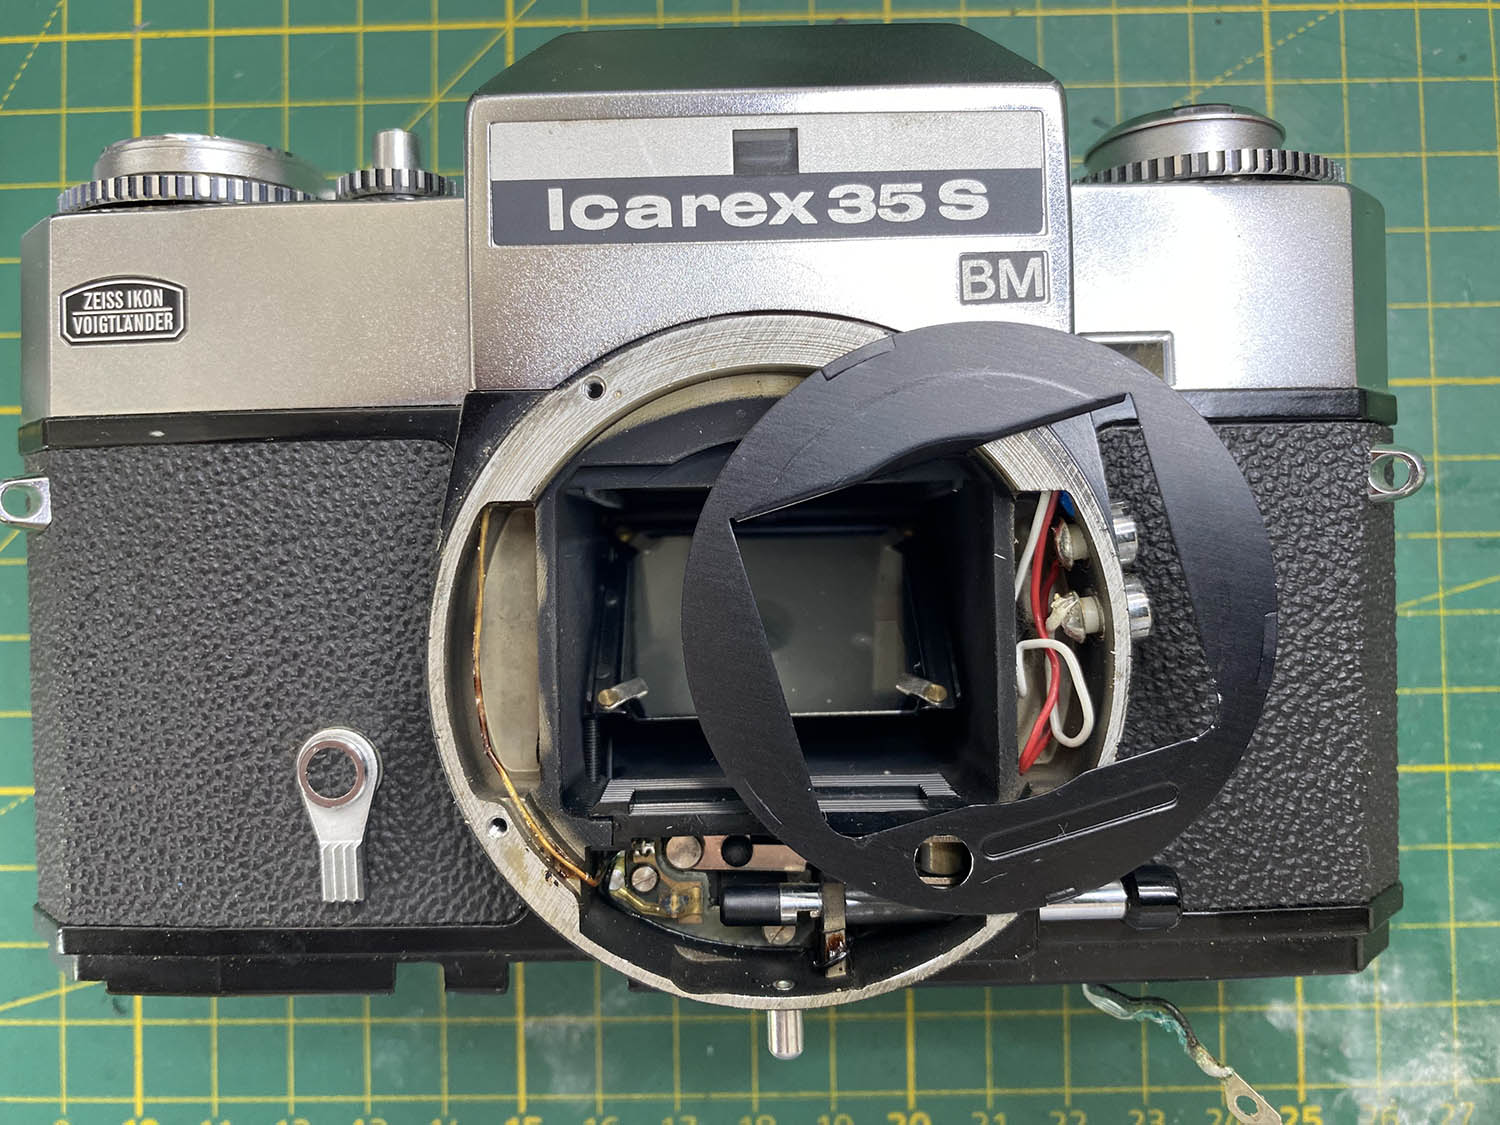
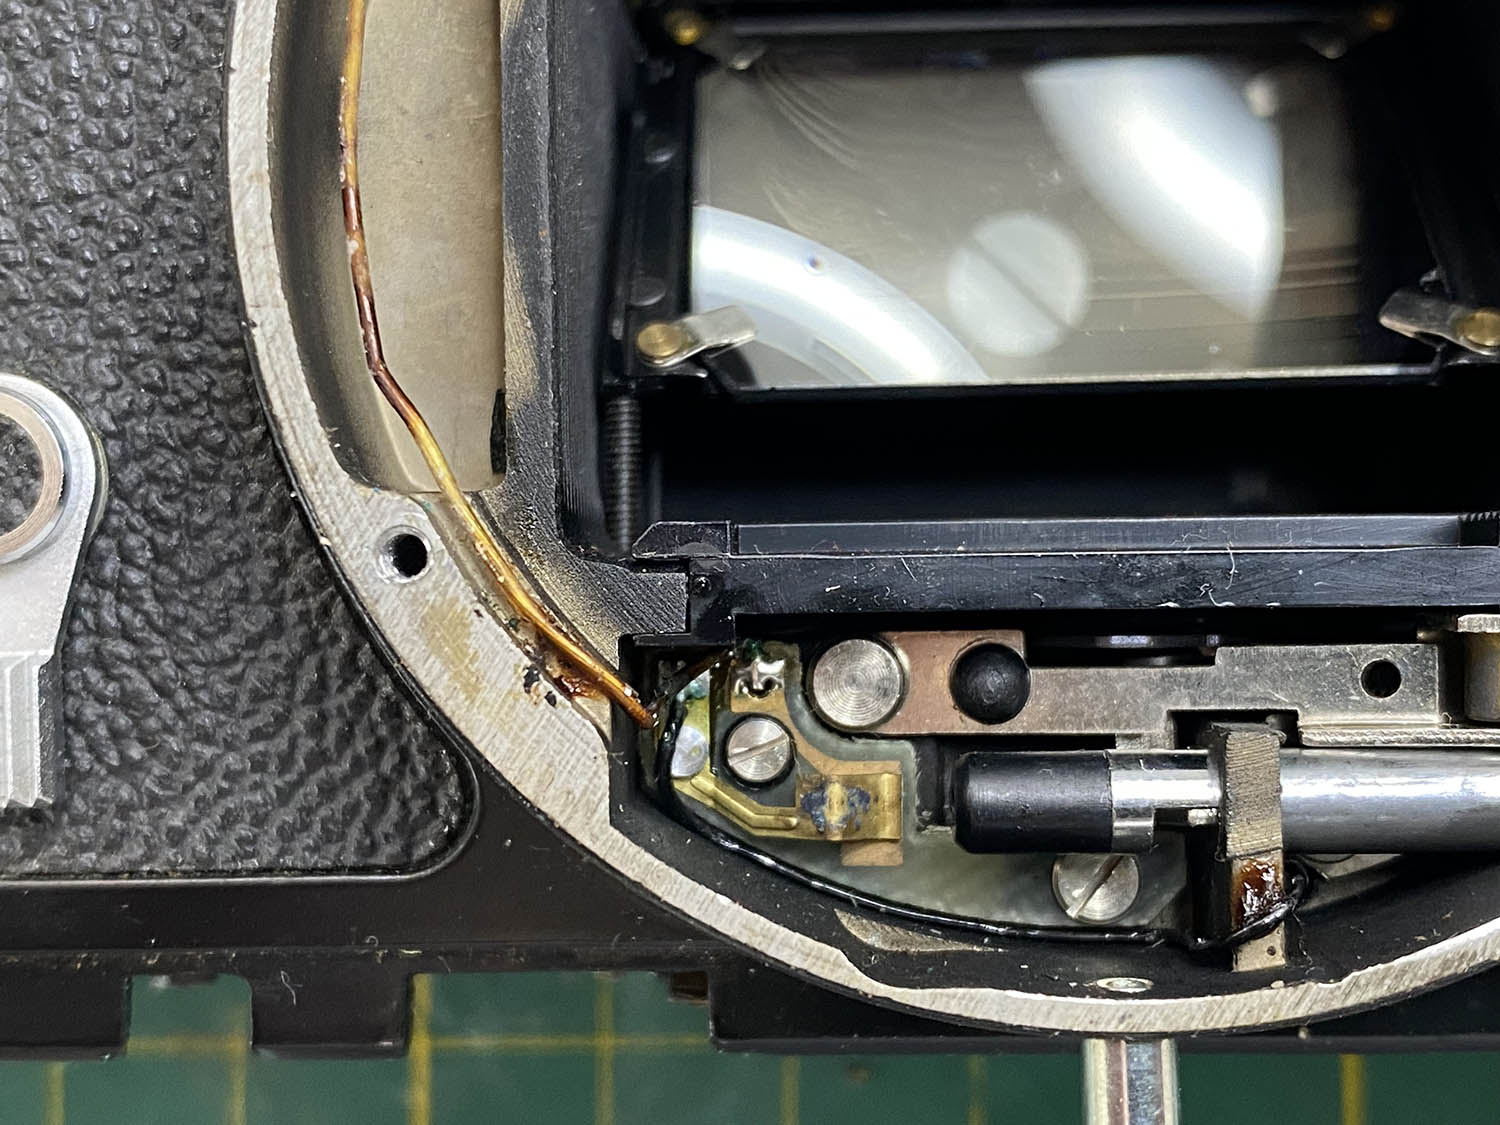
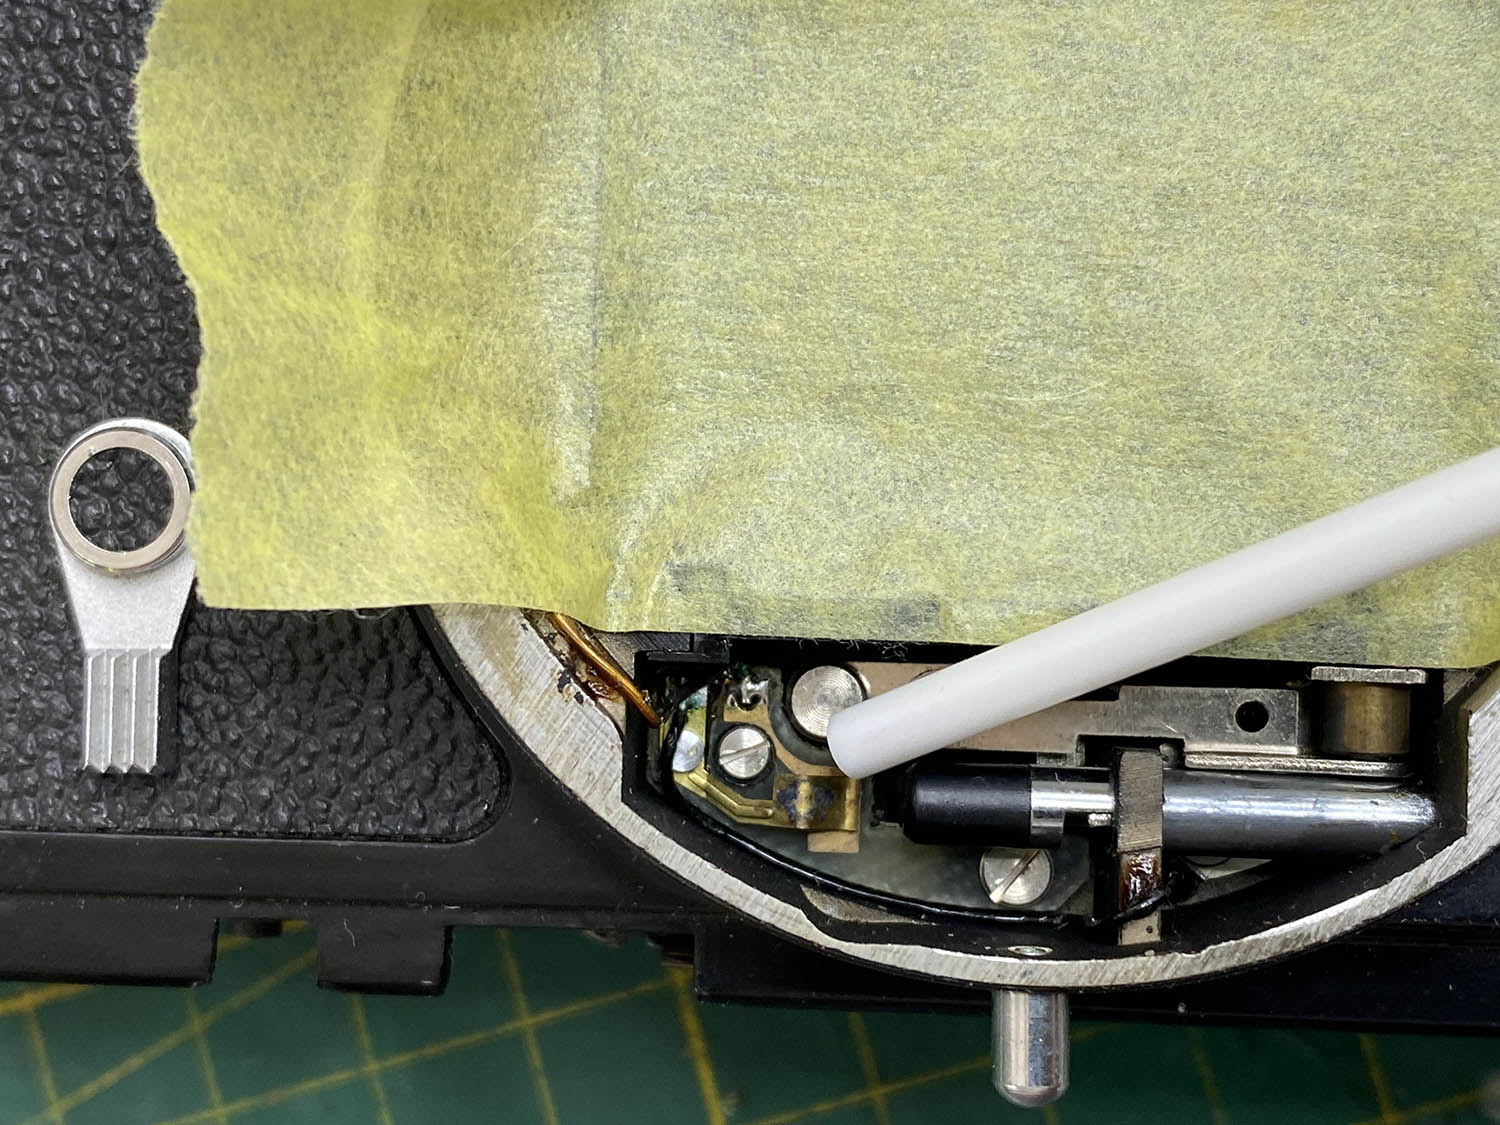
Battery Compartment and Metering Errors
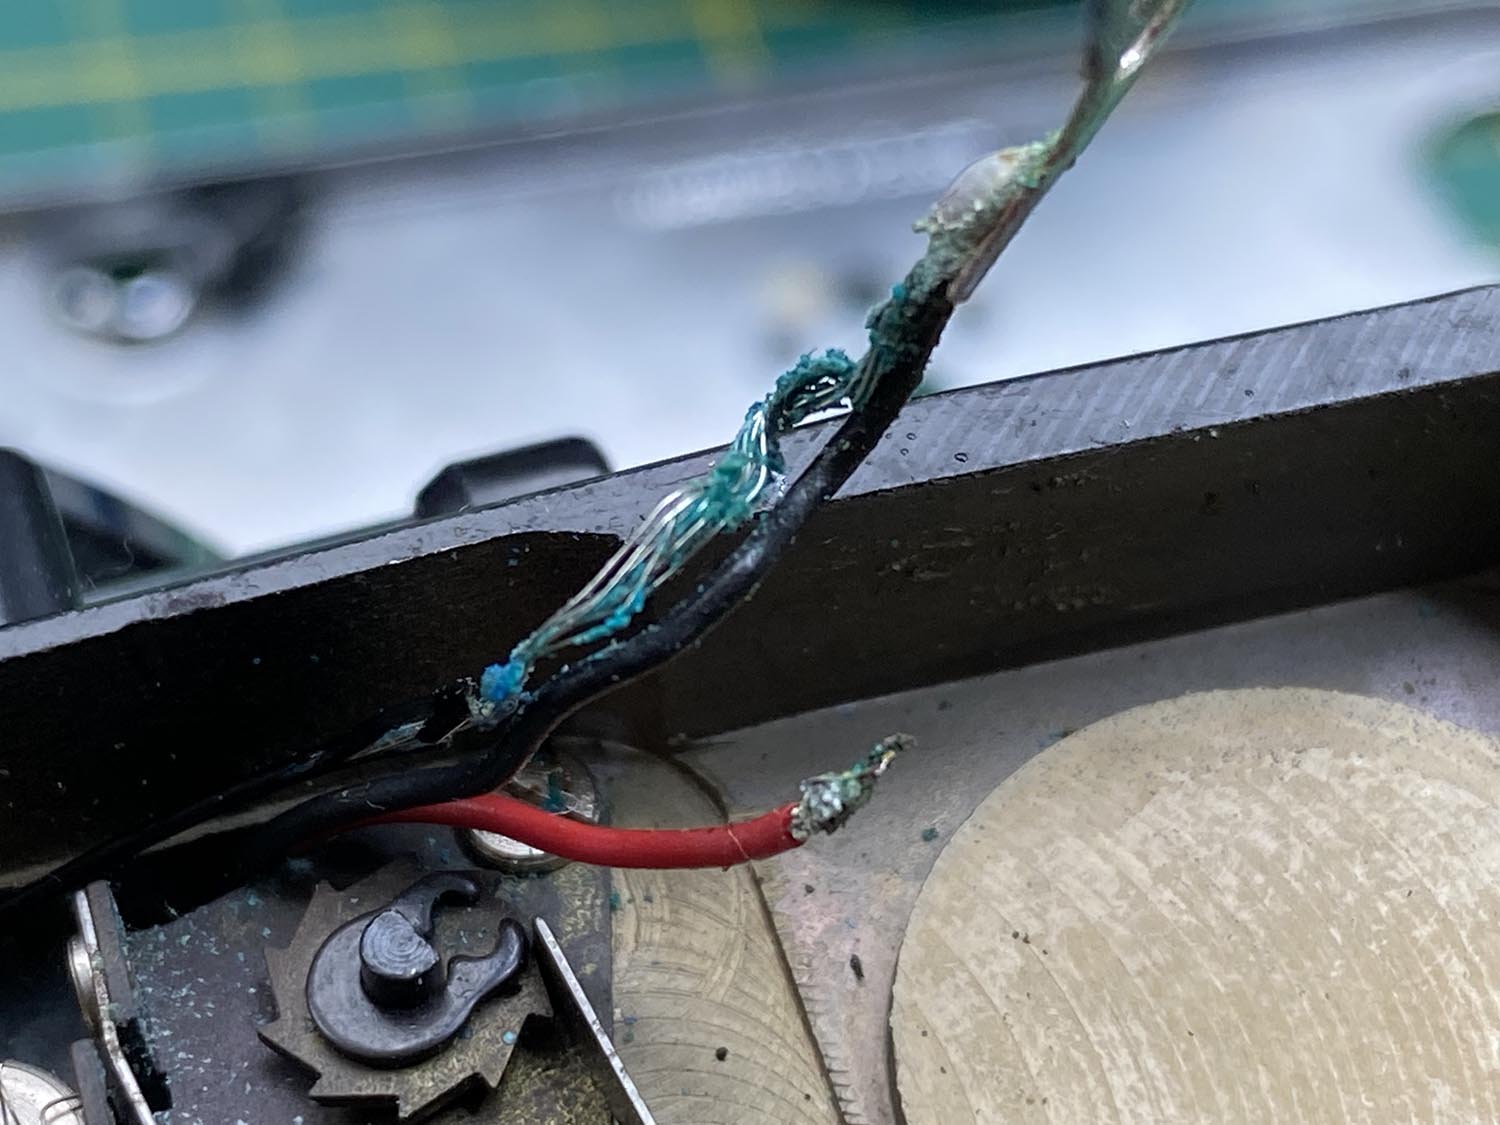
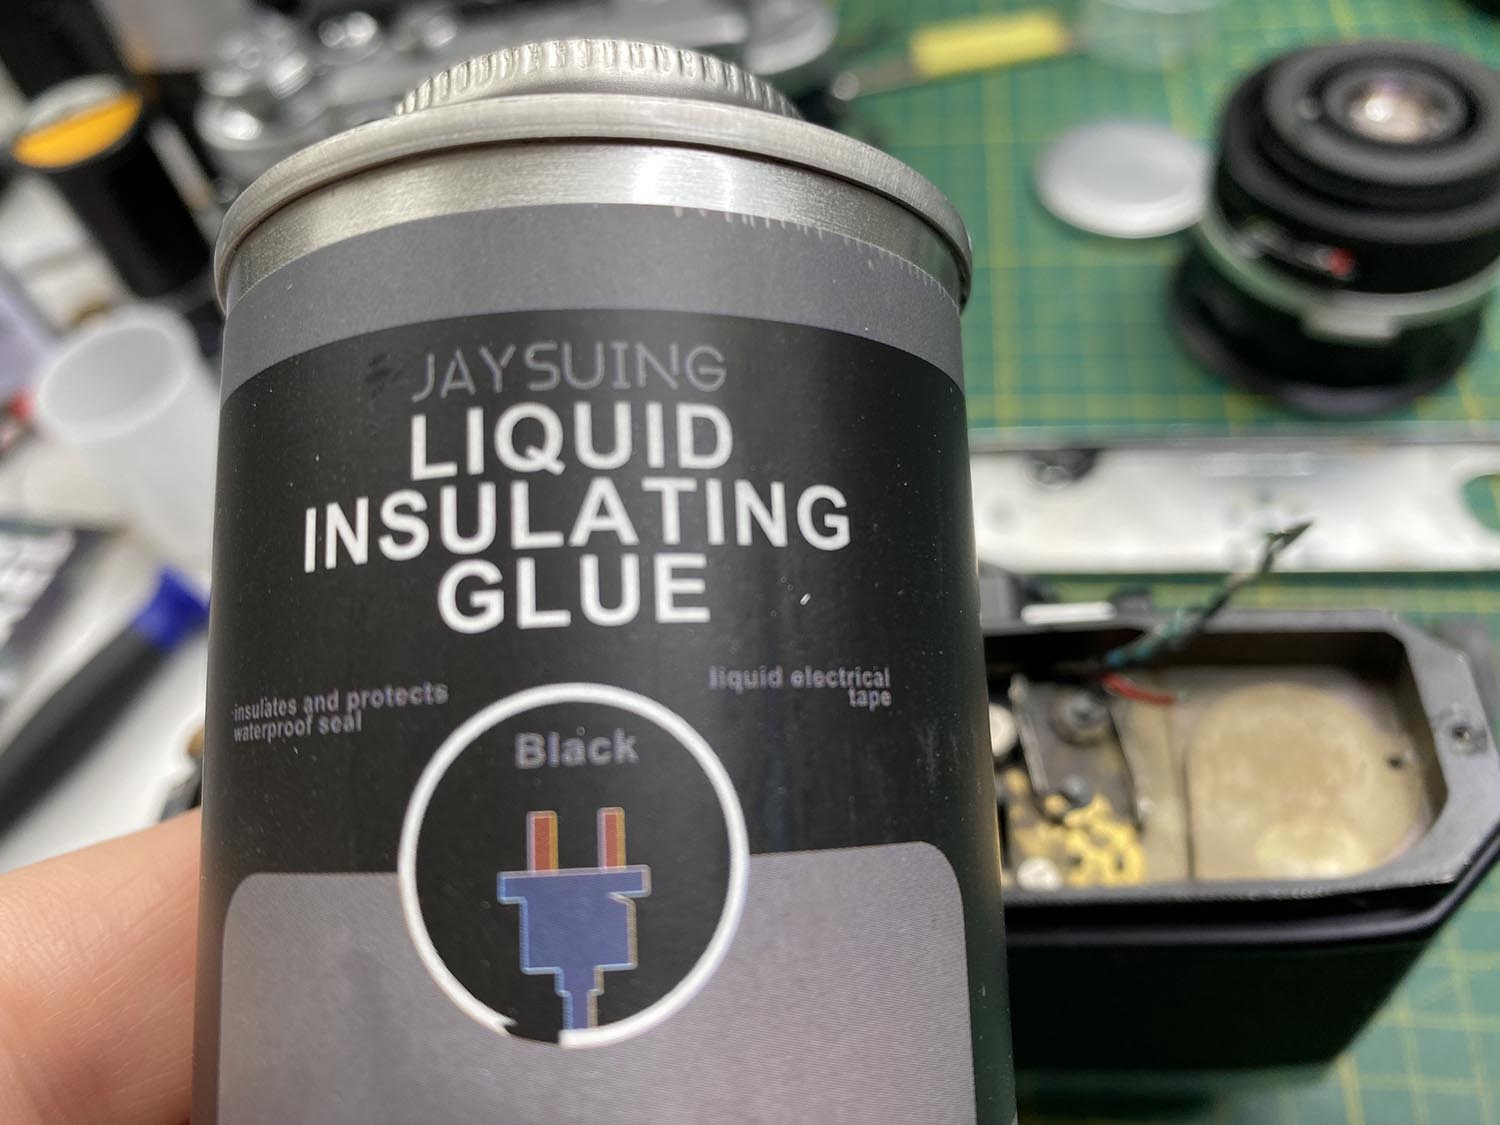
The power supply is a common source of problems—not only with the Icarex. Batteries are often forgotten inside the camera for decades, eventually leaking and causing severe corrosion. On this particular 35S, the metal contacts inside the battery compartment had been completely eaten away, and the insulation on the power lead had disintegrated. I made new contact tabs from thin sheet metal, glued them into the battery compartment and soldered them in place. The damaged cable insulation was repaired using liquid electrical tape. This is a straightforward repair once the camera's bottom cover has been removed.
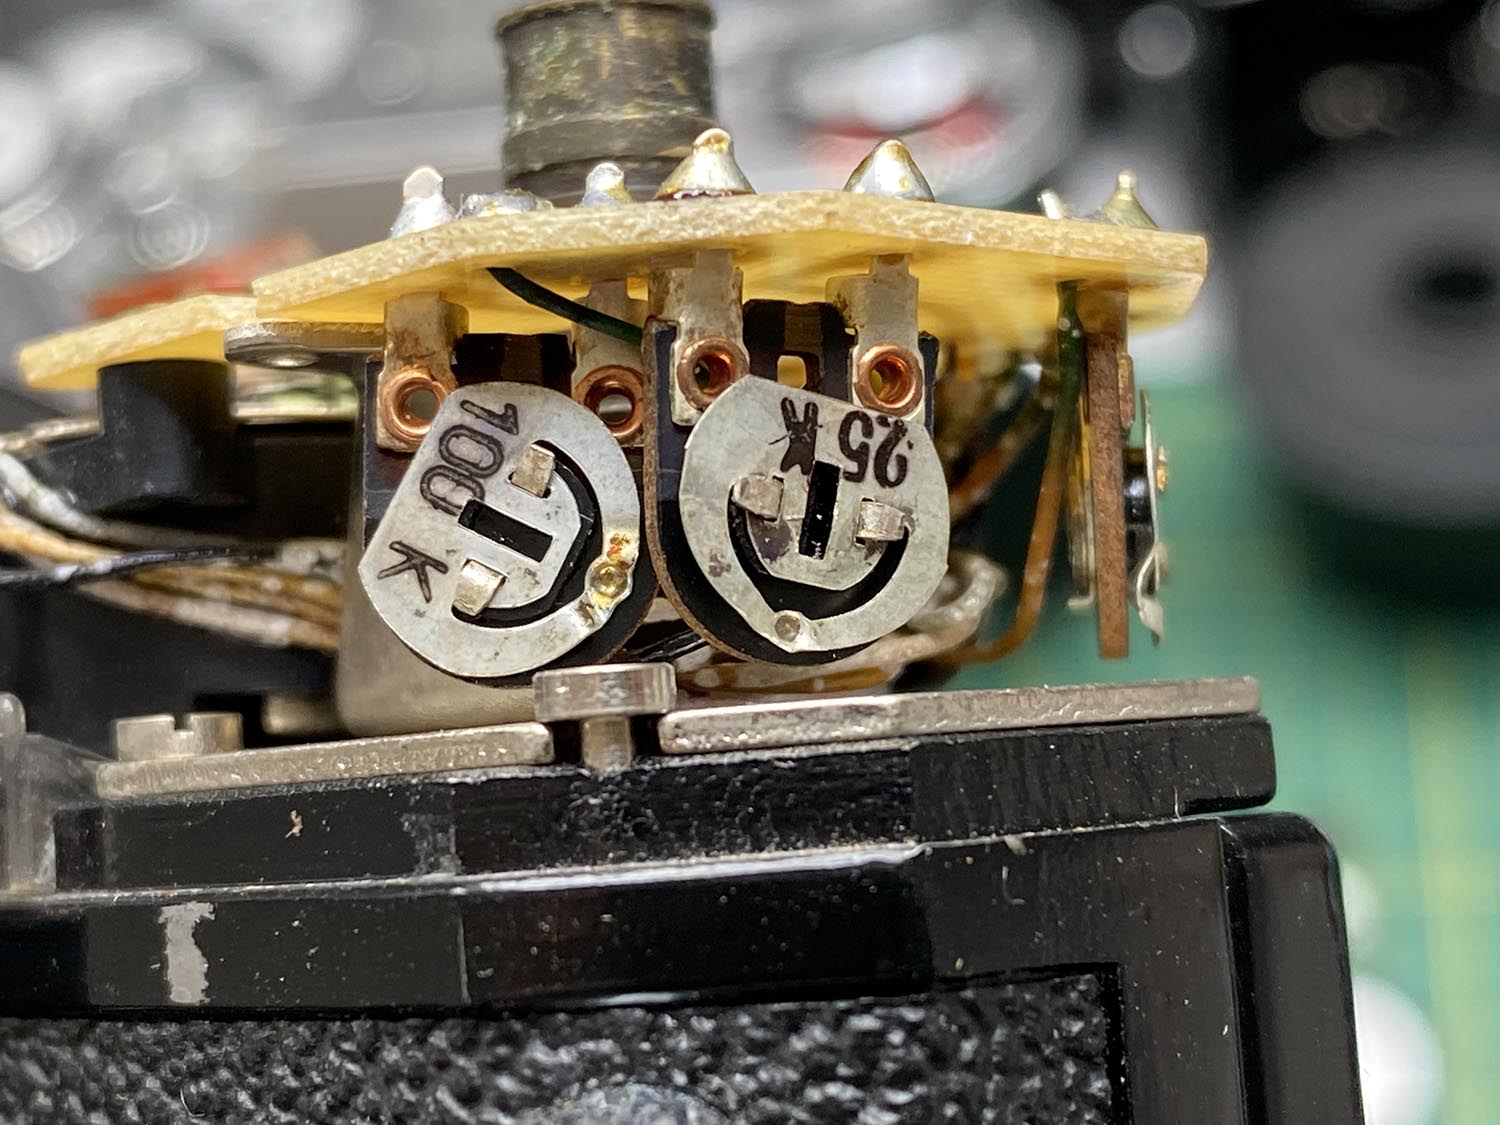
Incidentally, the Icarex exposure meter uses a bridge circuit, which makes it relatively insensitive to small variations in battery voltage. The meter in the 35CS metering prism is built in much the same way as the fixed meter in the 35S. Every Icarex exposure meter that has come across my workbench was noticeably out of calibration and produced completely inaccurate readings. This is probably caused by ageing electronic components, especially the CdS photoresistors. Fortunately, the meters can be recalibrated to compensate for this ageing. I recommend calibrating the meter for a modern 1.5 V battery, which also avoids the problem of the original PX625 mercury cells no longer being available. I used a Varta V625U (1.5 V) and adjusted the meter accordingly. Since I did not have a circuit diagram for the metering system, I had to rely on a fair amount of trial and error—but it worked in the end. First, I used the 100 kΩ trimmer to set the measuring range roughly. Then I adjusted the small potentiometers so that the meter matched a reference exposure meter under bright lighting conditions. Afterwards, I repeated the adjustment in dim light, going back and forth between both conditions until the readings were reasonably accurate over the entire range. It takes patience, but it can definitely be done.
The mysterious M42 adapter that never existed
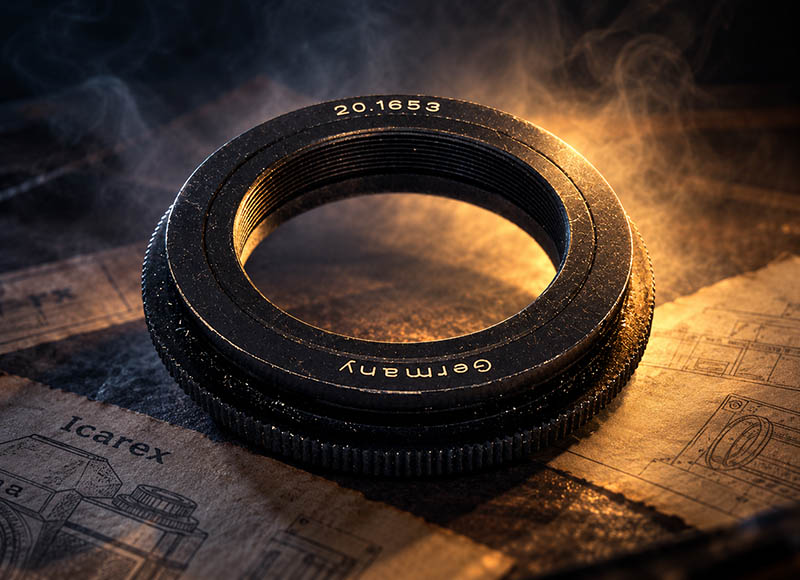
Anyone searching the internet for Icarex accessories will sooner or later come across a rather intriguing adapter with the Zeiss Ikon catalogue number 20.1653. Various dealers and even renowned auction houses describe it as an adapter designed to mount M42 lenses on an Icarex with the BM bayonet mount.
At first, this sounds quite plausible. After all, the Icarex was available both with its proprietary BM bayonet mount and, later, as the TM version with the widely used M42 screw mount. So why shouldn't Zeiss Ikon have offered an adapter allowing M42 lenses to be used on BM cameras as well?
A look at the technical specifications, however, raises some doubts: the flange focal distance of the Icarex BM mount is approximately 48 mm, while that of M42 is 45.5 mm. On a BM Icarex, an M42 lens would therefore have to sit about 2.5 mm behind the actual bayonet mounting surface in order to retain infinity focus. A simple adapter ring cannot achieve this.
The mystery is finally solved by an original Zeiss Ikon document. The Icarex system price list dated October 1, 1971 does indeed list catalogue number 20.1653 – but not as an M42 adapter. It is described as “20.1653 – Adapter ring T-2 mount – BM.”
The adapter was therefore intended to mount lenses with a T2 fitting – such as certain Soligor lenses – on the Icarex BM bayonet. Since the T2 thread looks very similar to an M42 lens thread, it is easy to see how the two could have been confused.
So the legendary Zeiss Ikon M42-to-Icarex-BM adapter appears to be just that: a legend.
Icarex-links
Although technical and service information about the Icarex cameras is rather scarce on the internet, there are a few websites that provide useful information about their features, specifications and operation. They are worth mentioning here:

 Webseite auf Deutsch
 Website in English
 Hemsida på svenska